
T hermal comfort is of the essence in any season, and without supplemental measures, it is impossible to obtain. An AC unit is the ultimate option to keep cool when summer comes, while a space heater is your best pick to keep warm in winter. But the expenses of using them are hefty too, and this is why more and more people turn to fans for thermal comfort.
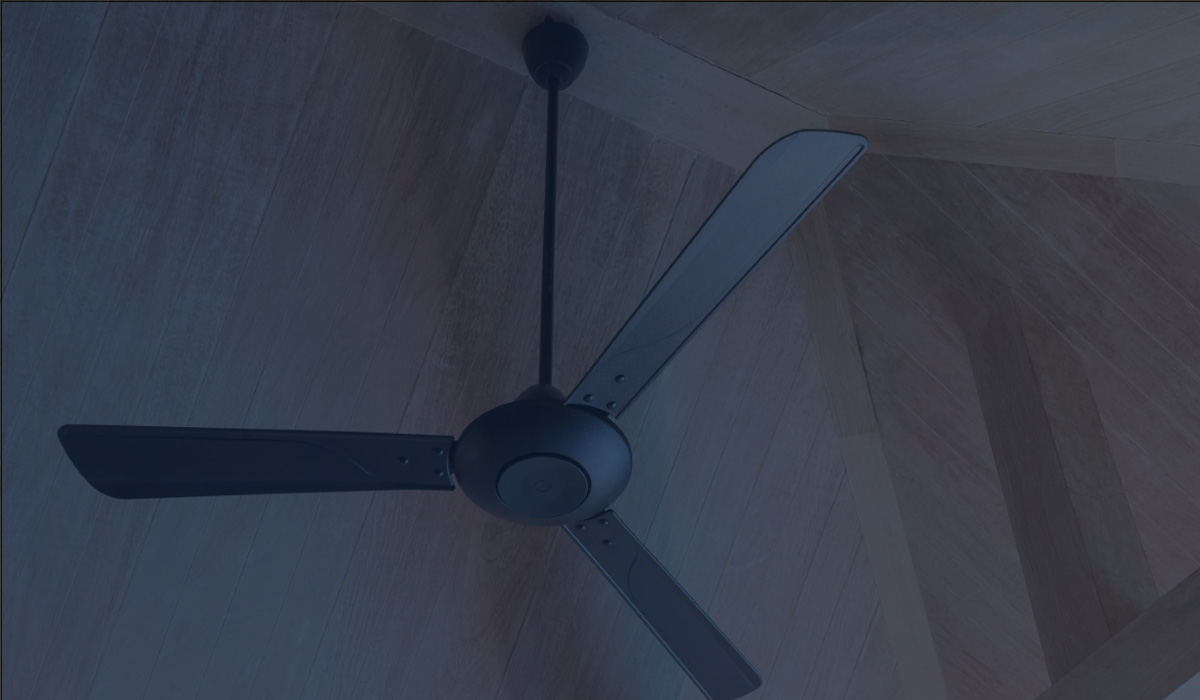
With a ceiling fan, you can even utilize it year-round to stay cool in summer and warm when it gets cold as most feature reverse direction functionalities. If your heart is set on adding one to the area of the house you spend most of your time in, stick with us to learn how to install it on your own. This way, you save money on professional installation and you can take pride in your DIY project after it is all done and you benefit from its functioning.
What you need:
- Tools: Ladder, 2’ level, pliers, screwdriver, wire cutters, protective gloves, protective goggles.
- Materials: Fan and light kit, downrod, wire connectors, light bulbs, mounting hardware, fan box, wire extension cords, electrical tape.
Ceiling Slope Considerations
Measure the slope as it weighs when it comes to acquiring the fan. You must choose the downrod size pursuant to the slope, so you can see why this is an aspect you must look into before you get started. To measure the slope, use a 2’ level that you place against the ceiling as seen in the picture above. Measure the vertical gap between the level and the ceiling. Divide the number by 2 to obtain the drop over 12” of flat run.
Minimum downrod length according to angled ceiling type
Beware: Before we begin, keep in mind that for 8/12, 10/12, and 12/12 slopes you also need a slope adapting kit. This is valid for all the situations we will present hereafter.
- For 27” blade diameter: 6” for 3/12, 4/12, and 5/12 slopes; 12” for 6/12 slope; 18” for 8/12 slope; 24” for 10/12 slope; 36” for 12/12 slope.
- For 36” blade diameter: 6” for 3/12, 4/12, and 5/12 slopes; 12” for 6/12 slope; 18” for 8/12 slope; 24” for 10/12 slope; 36” for 12/12 slope.
- For 44” blade diameter: 6” for 3/12 and 4/12 slopes; 12” for 5/12 and 6/12 slopes; 24” for 8/12 slope; 30” for 10/12 slope; 42” for 12/12 slope.
- For 52” blade diameter: 6” for 3/12 slope; 12” for 4/12 slope; 18” for 5/12 and 6/12 slopes; 24” for 8/12 slope; 30” for 10/12 slope; 42” for 12/12 slope.
- For 56” blade diameter: 12” for 3/12 and 4/12 slopes; 18” for 5/12 slope; 24” for 6/12 slope; 30” for 8/12 slope; 36” for 10/12 slope; 48” for 12/12 slope.

Step-by-Step Installation Guide
Before you start, let’s go over some safety rules to avoid injuring yourself in the process. First, pinpoint the circuit breaker box and shut off the power as you will be working with wires, so this step is necessary to not get hurt. Get rid of any obstructions at the site where you set up the fan. The outlet box must be UL listed and marked to support fans. Check that the electrical connections comply with local and national codes. Lastly, read the instructions in the manual in case there are other caution and safety information provided there.
#1 – Out with the Old
Climb and detach the current ceiling fixture. To do this, hold it with one hand, and with the free hand take out the screws that keep it in position.
If there is no fitting, call an electrician to set one up. The procedure asks that you run wiring through the walls, which is risky if performed by an unlicensed professional.
After you have pinpointed the wires of the prior fixture, support it to leave both of your hands free and unfasten and take out all the connectors. When they are disjointed, lower the fixture and dispose of it as you like. Now remove what holds the previous box in position and take it out.
Note: It is generally required to substitute the ceiling box as most models are not designed to withstand the weight of rotating ceiling fans. To see whether replacement is necessitated or not, search for markings that come in handy to identify the weight support assessment. If the indicated weight does not comply with the weight of the fan that you have acquired and intend to install, then you must use a different box for the setup.
#2 – Set Up the Bracket
If the fixture is situated between joists, get a fan box with a sufficiently large hanger bar to fit between them. Unlike conventional ceiling boxes, fan-rated models are generally larger and thicker. Raise the box to the hole and if it’s bigger, remove the excess. Then, you can proceed to thread the wiring through the hole since the box now fits perfectly in the space. Affix it in position and secure the hanging bracket.
#3 – Manage the Assembly
The kit includes everything needed for set-up and mounting, so you can proceed with the last parts without having to make extra trips to any store. Affix the downrod and stiffen the latching screws. Elevate the fan to the installation spot and couple the neutral wires. There are two of them, twist their ends and join them with a wire coupler secured with electrical tape at the end. Then, couple the ground wires following the same procedure, as well as the leftover wires. Tuck the wires neatly so that nothing is left exposed.
Tip: Check the instructions manual for advice on wiring. In case you cannot find the info you need, ask for the help of an electrician.
#4 – The Grand Finale
Install the canopy and join the blades to their motor mountings one at a time. Follow the user manual guidelines as the procedure differs from one model to another. If there is the possibility to add light fixtures, you ought to install them now. Turn on the power and examine if the unit is properly functioning. You first have to restore power from the circuit breaker box. If everything appears to be fine, your job is done. In case it doesn’t start or anything seems out of the ordinary, ask for professional assistance.
Pick the Right Size Fan for Your Room
Blade span smaller than 29”:
- Suited for room size of up to 50 sq. ft.
- Good for small offices and powder rooms.
Blade span from 29” to 36”:
- Suited for room size of 50 to 75 sq. ft.
- Good for small bathrooms.
Blade span from 42” to 48”:
- Suited for room size of 75 to 175 sq. ft.
- Good for home offices, bedrooms, medium-size bathrooms.
Blade span from 52” to 56”:
- Suited for room size of 175 to 350 sq. ft.
- Good for large-size bedrooms and bathrooms.
Blade span over 60”:
- Suited for room size of over 350 sq. ft.
- Good for rooms with high ceilings and large living rooms.
Bonus: Tips to Use the Fan More Efficiently and Effectively
-
Run it in the right direction according to the season:
If it is a reverse motor model, it will rotate in specific directions for year-round use. When the weather is hot, rotate the blades counterclockwise for a cooling breeze, whereas, in cold weather, make sure the blades rotate clockwise for it to maintain a steady, pleasant temperature indoors.
-
Keep the doors shut:
This is important regardless of the season. With the door closed, the fan has to circulate a smaller volume of air, which adds to its efficiency. It is mandatory to do so in winter, while in summer, you can skip on this advice in case there is an AC installed in an adjacent area. Keeping the door open would be recommended in that case as the cool air would enter the room and the fan would circulate it to amplify its functioning.
-
Run it at night when summer comes:
Temperatures are always considerably lower at night as opposed to daytime in this hellishly warm season. As the fan is considerably more efficient at providing a cool breeze when the temperature outside is lower, it is best to run it when the sun sets in summer.
-
Use it as a supplement to existent HVAC systems:
The fan on its own doesn’t do much in regards to changing the temperature in the room. It just makes you feel warmer or cooler depending on the setting you opt for. If you truly want to maximize its potential, use it as an addition to your pre-existing air cooling system or heating system. This way, you won’t have to turn the thermostat as high or as low as you used to on these systems as the fan circulates the cool and warm air better, providing thermal comfort faster and more efficiently.
-
Go fluorescent:
Don’t overlook the light you use either as, in the long run, it makes a difference when it comes to costs. If the fan includes the lighting kit, instead of going for a conventional bulb that consumes a considerable amount of energy, install a fluorescent bulb as it saves up to 80%.
-
Maintain proper humidity:
Relative humidity levels that are too high or too low take a toll not only on indoor air quality but on thermal comfort as well. In summer, when the heat rises, so do humidity levels. During wintertime, the effect is the opposite. Thus, use an indoor hygrometer to keep an eye on moisture and make adjustments to upkeep a 30% to 60% level indoors. Otherwise, you will feel colder or hotter than you normally should and the fan will be set in overdrive to keep you comfy.
Final Thoughts
Now that you know how to follow through with the installation on your own, you will not need to pay hundreds of dollars to have a professional do it for you. Simply follow the guidelines close and take all the safety measures seriously to avoid unpleasant incidents. In case you have any doubts about the procedure, ask for professional help. Better safe than sorry, after all. Now, just pick the fan that you consider will serve your needs best, size it right for the room you use it in, install it, and enjoy your new acquisition!


