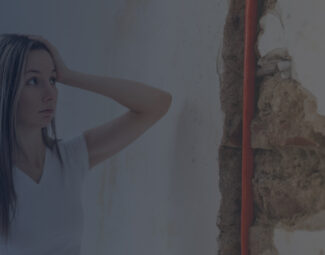
I f you don’t have a basement or it’s not full-size, chances are that you have a crawl space underneath the ground floor. Woefully, it is the discrete nature of this area that doesn’t pop out in any manner that makes it easy to overlook, which can have repercussions as the crawl space actually accounts for a range of health and safety issues if not properly handled and encapsulated to prevent humidity from going haywire in it, some of these problems including poor indoor air quality caused by mold spores, as well as pest infestation.
Scratching noises coming from unwanted four-legged visitors, foul smells that seem to seep from the floor, and an inability to upkeep the wanted temperature no matter how much you run the AC or heater is only the beginning with lack of encapsulation, so if you are conscious about the importance of this home improvement project and you want to learn more about it and how to follow through with it step by step, make sure to read this article until the end, and you will receive all the knowledge you need.
If you have a full-size basement, the same advice applies – make sure that you insulate the basement right so that excess humidity doesn’t become an issue and to cut down on heat loss through this area of the house as much as possible.
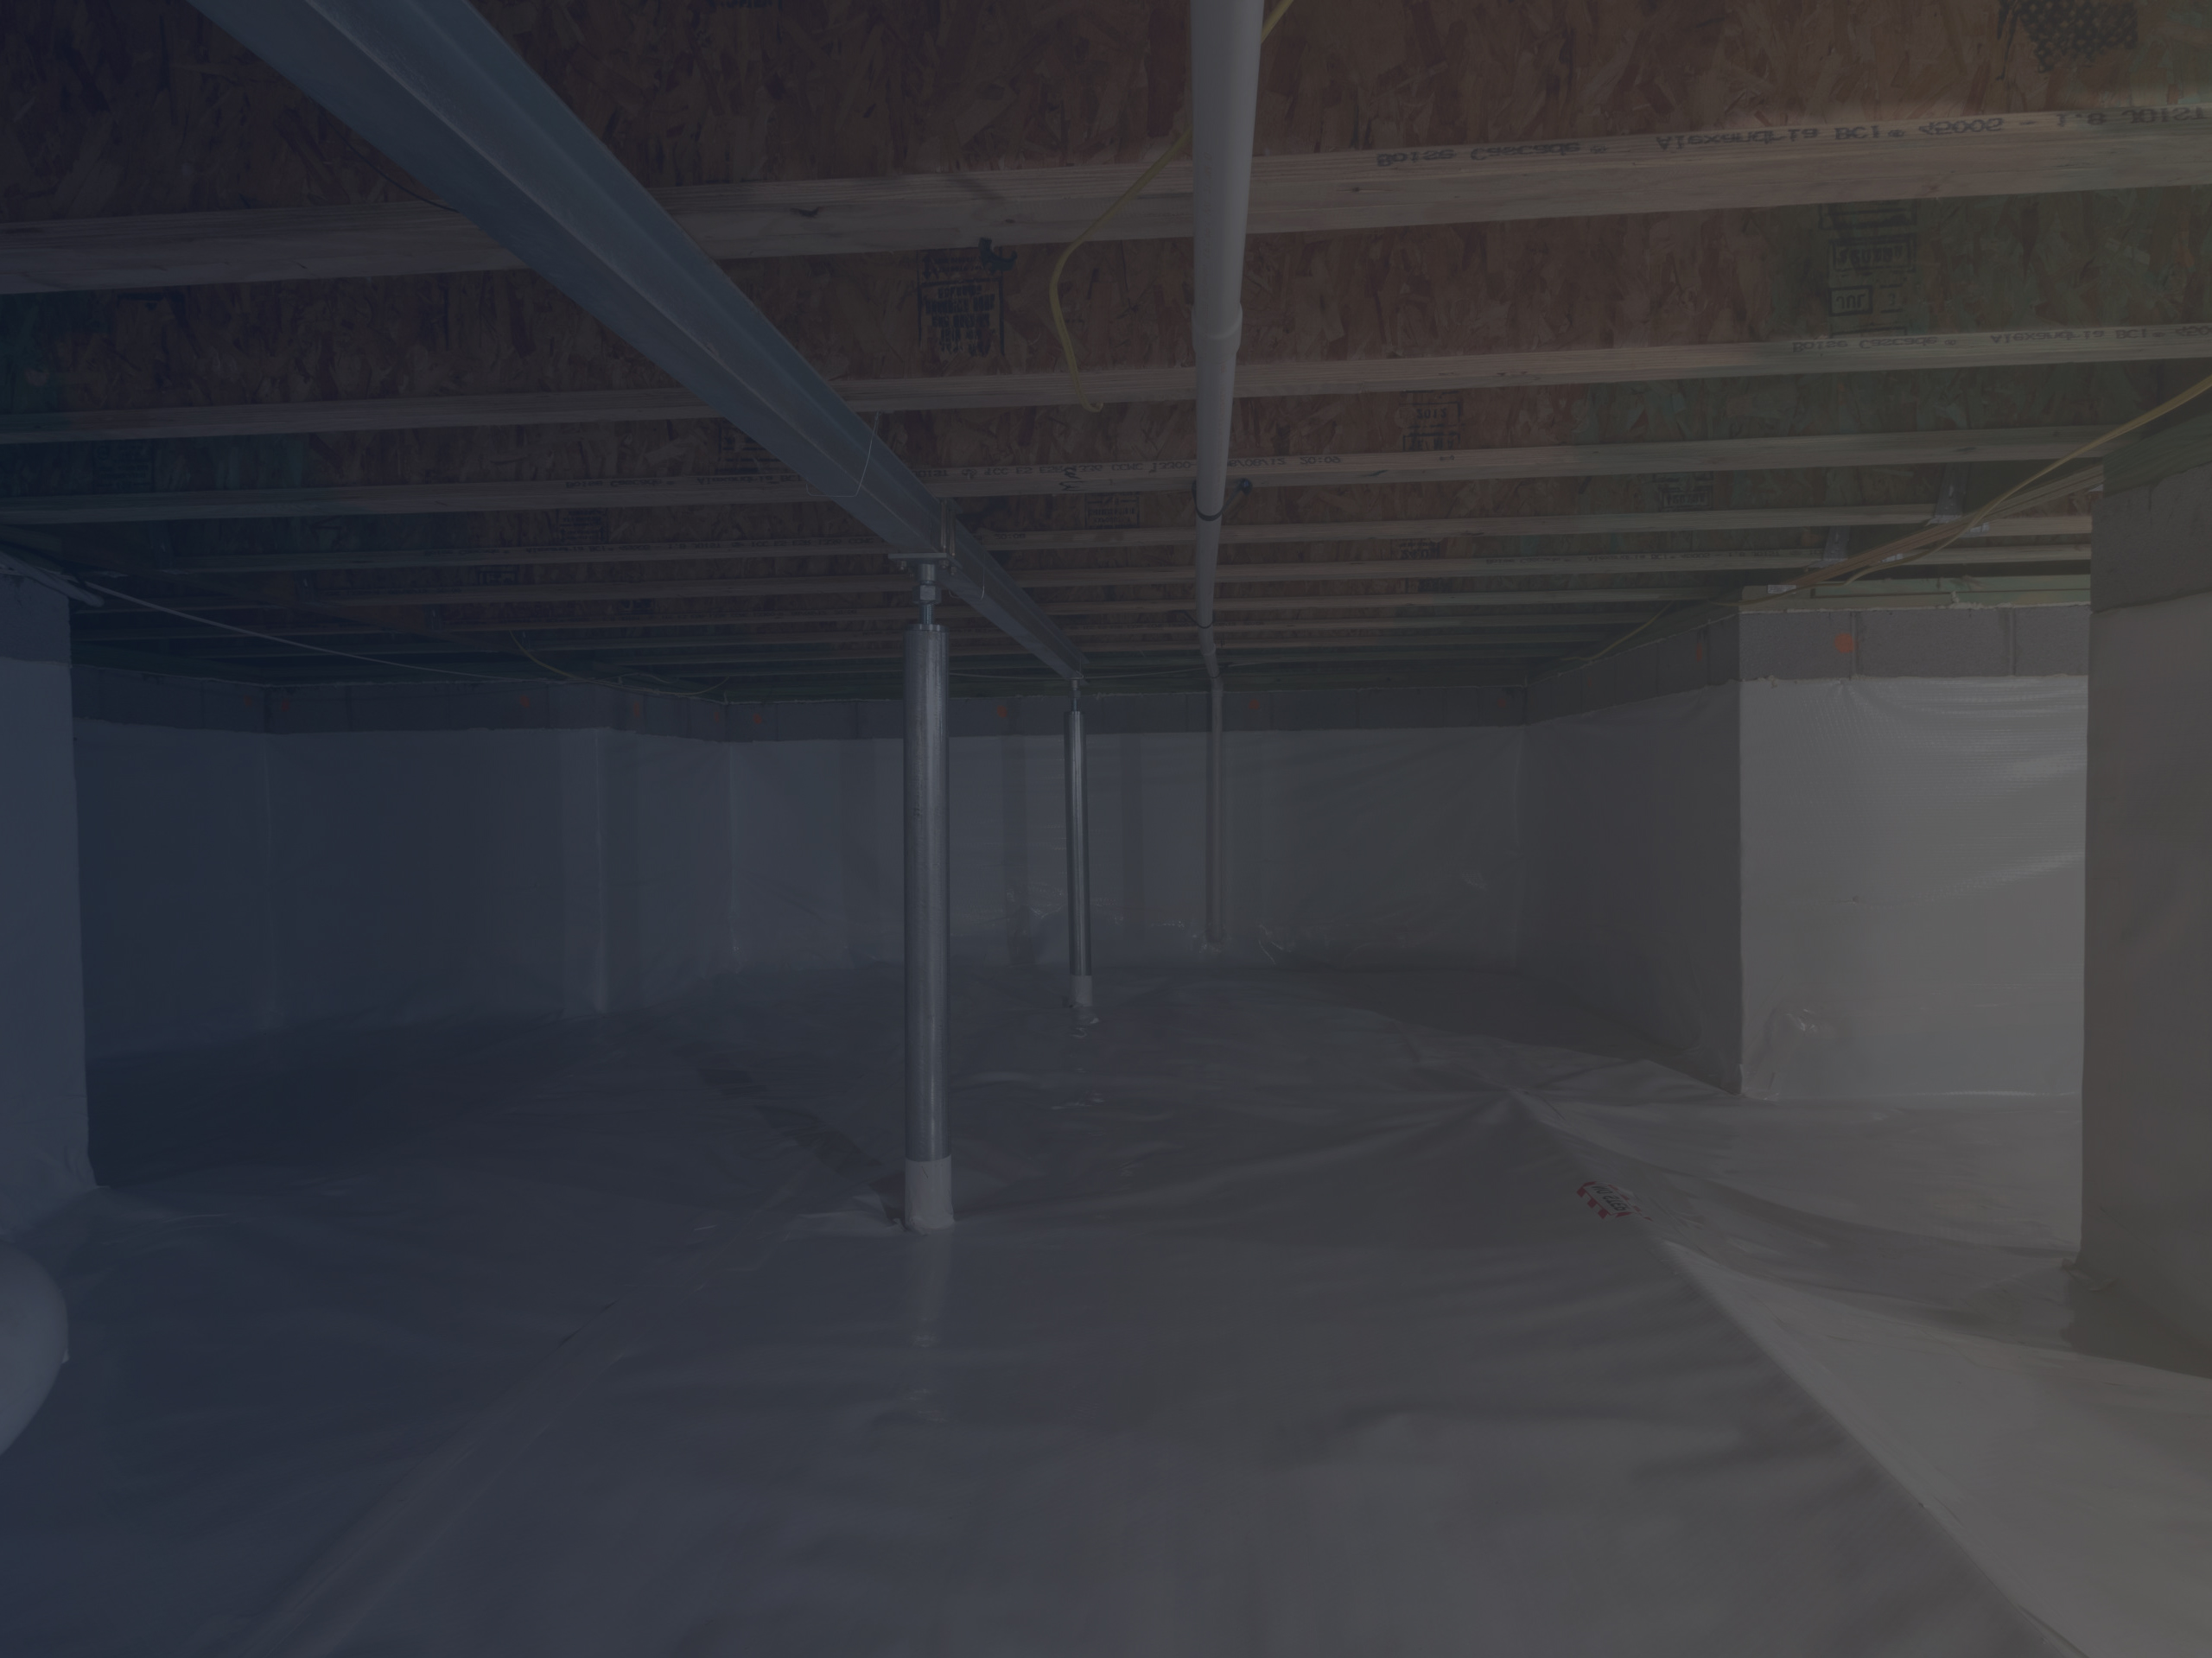
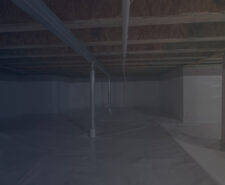
Encapsulated Crawl Space
Why You Should Encapsulate the Crawlspace
Definition: Crawl space encapsulation is the procedure through which the passage of air from this below-level area to the living quarters of the house is prevented so that you will benefit from a healthier and safer habitat indoors.
Installation costs are hefty with this procedure, there is no denying it, regardless if you perform it on your own or hire professionals to do it, the end sum being quite high. Nonetheless, considering the issues it helps solve and what other problems it helps prevent, it’s worth following through with as benefits outweigh costs. Speaking of, the benefits brought on by the encapsulation procedure include:
- Local tax rebates: Following through with it might qualify you for local tax rebates seeing how this is an energy-efficiency home improvement project. Check online or talk to local officials to learn if you qualify for the rebate or not.
- Increased property value: It is a standout selling feature as you not only spare the potential buyer from doing it later but due to the fact that it helps maintain home value for more years and makes it easy to pass potential home inspections.
- Save money: The added insulation has an immediate impact on your bills, guaranteeing that you will notice an estimated 20% reduction on your monthly costs as a result of heat loss reduction and excess moisture prevention.
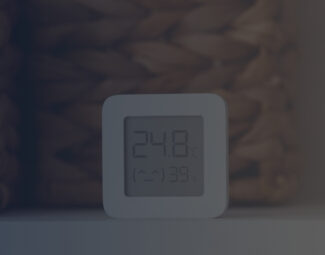
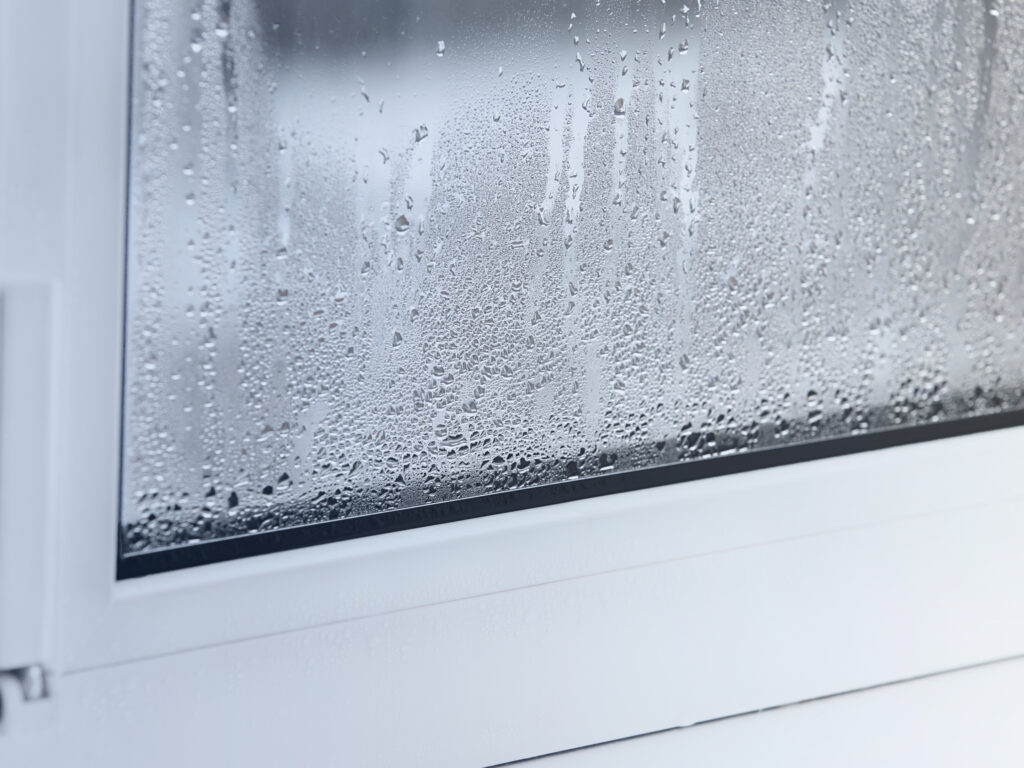
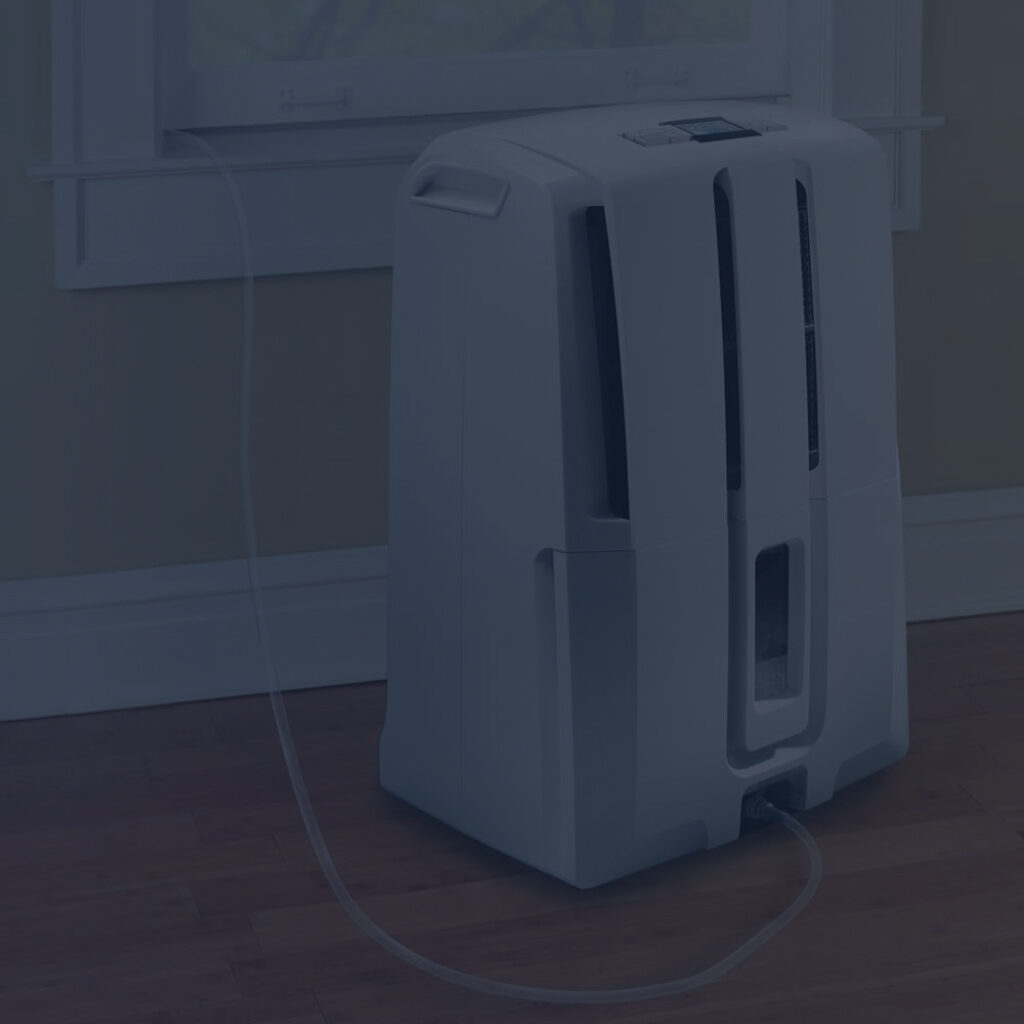
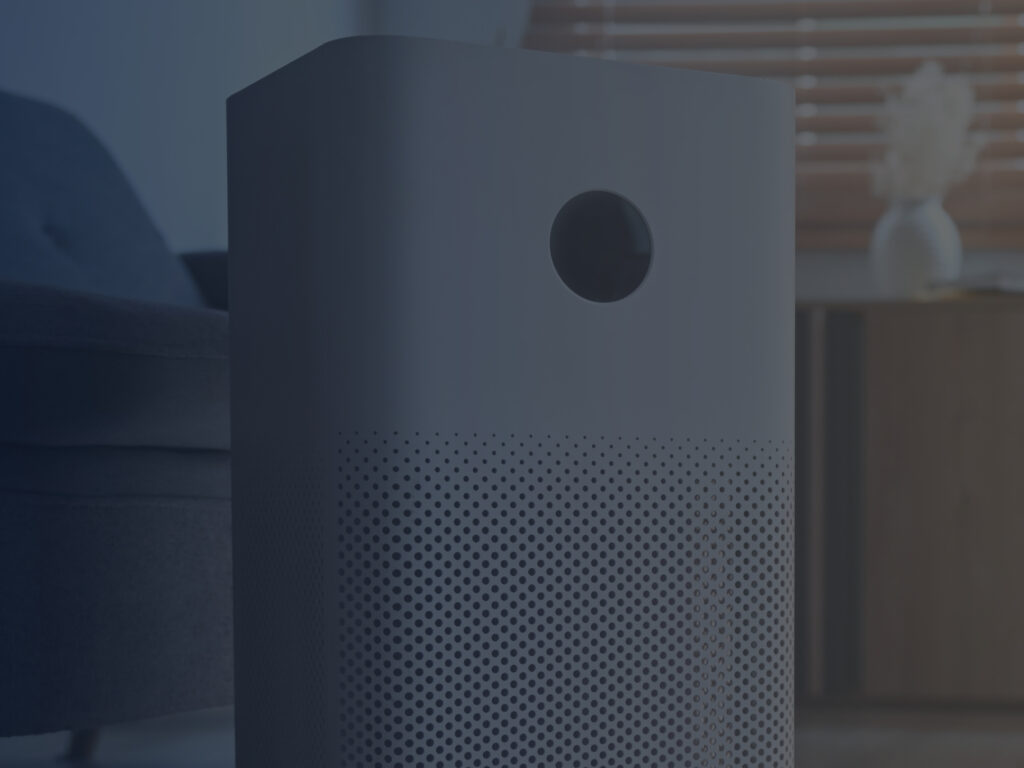
- Air quality improvement: As the space is no longer vented, it won’t affect the air quality inside the living quarters. Moreover, with the use of a specialized crawl space dehumidifier that wicks away any moisture that might develop down the road, you can rest assured knowing that this specific level of the house won’t ever be at fault for musty smells indoors.
- Protection from pests and rodents: As the space will be dry and sealed, you won’t have to worry that pests, insects, and rodents might thrive in it anymore as conditions won’t suit them.
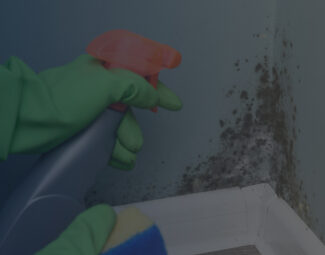
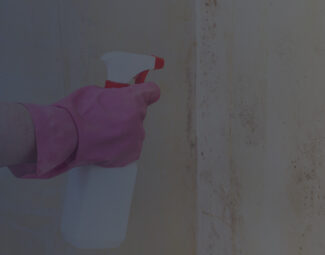
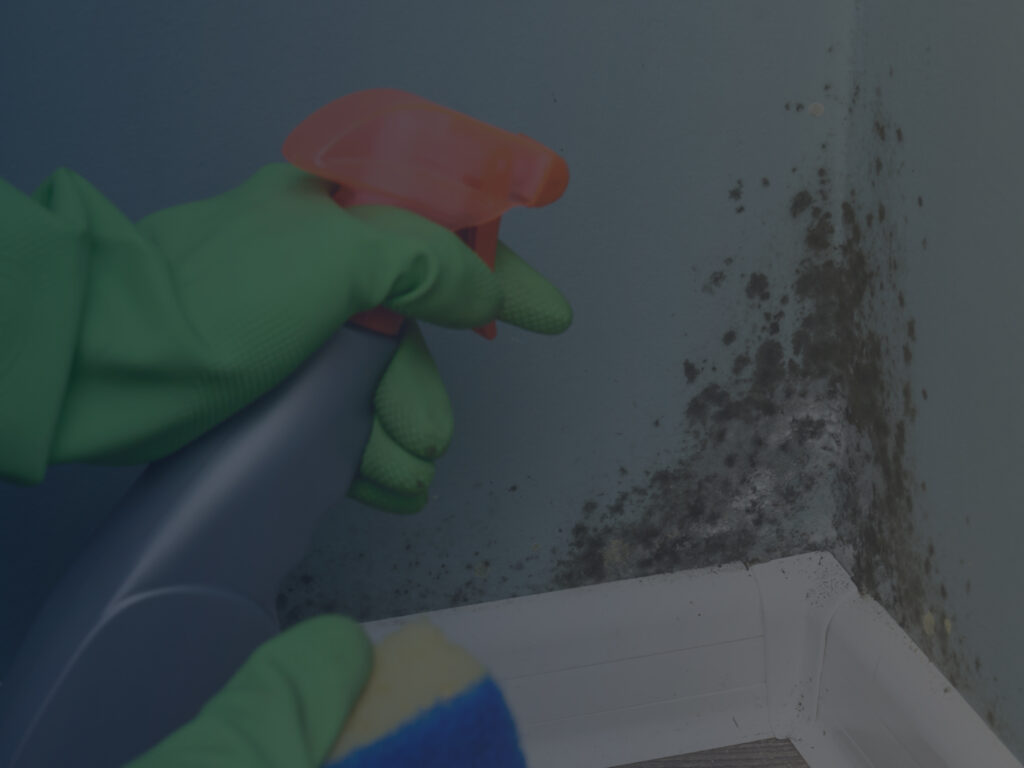
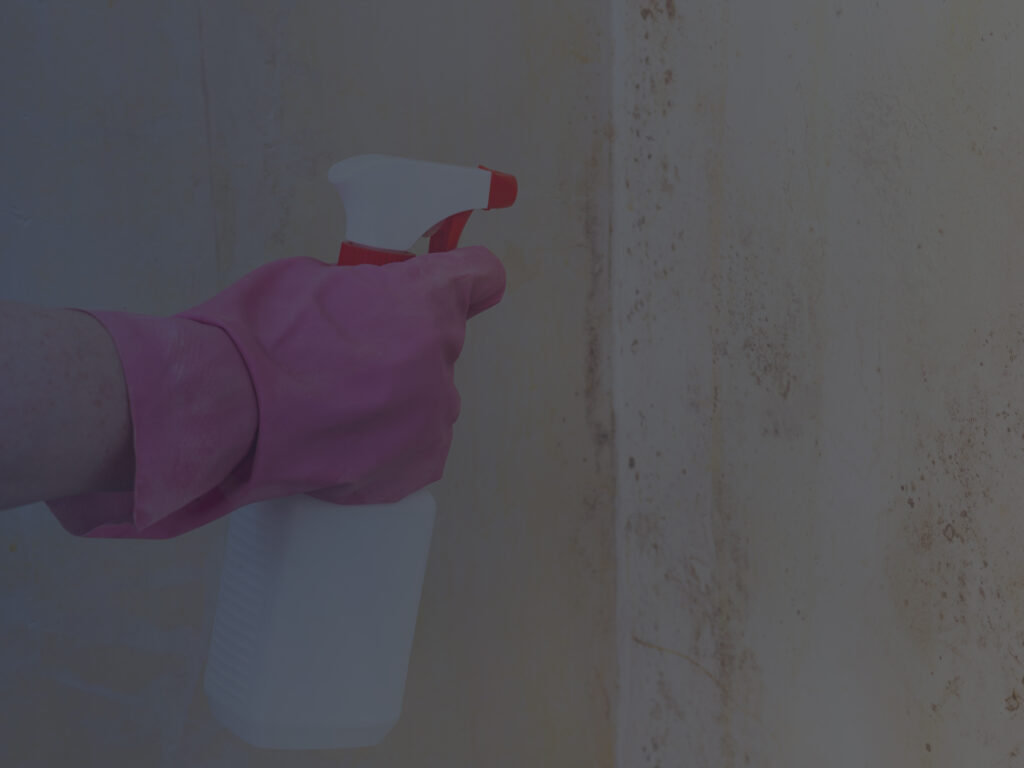
- Mold development prevention: The moisture barrier that is provided through the encapsulation process prevents any future-forming mold from affecting the air indoors.
- Improved living conditions: Makes a big difference from this point of view as the floors in living quarters won’t feel as cold anymore during winter, and when summer comes, the air indoors won’t be as muggy either.
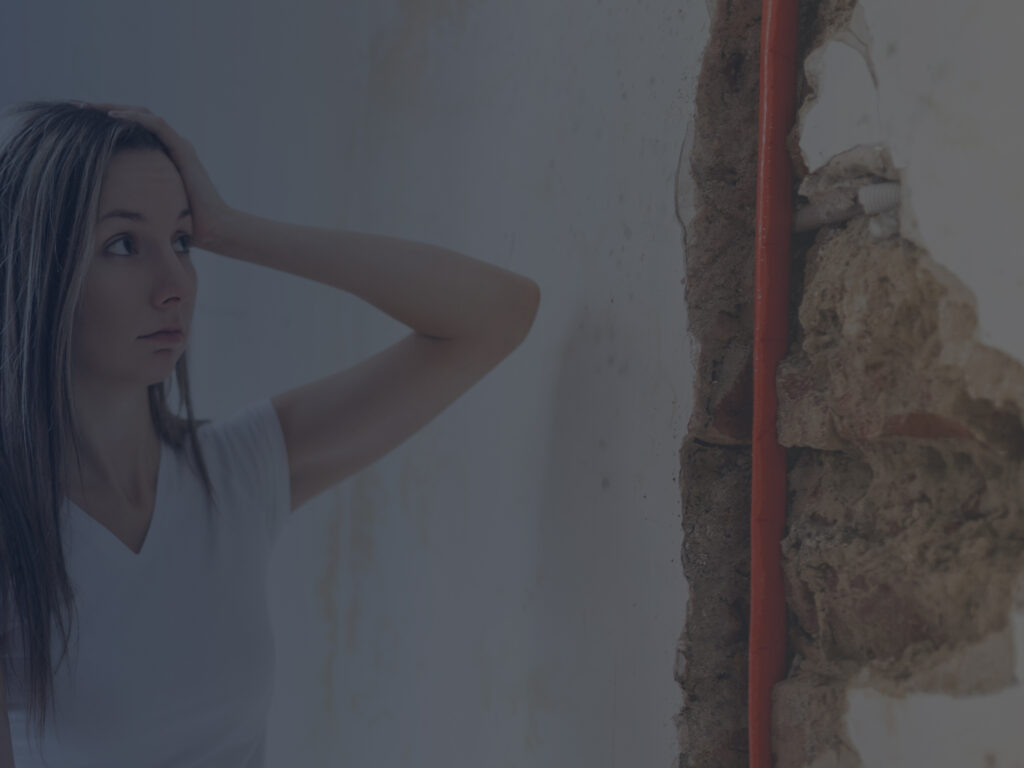
- Foundation protection: The moisture that inevitably builds up when encapsulation is not present makes the wood in the foundation rot and it can lead to the posts and joists to sink, which compromises the foundation and the whole structure, for that matter, so you can see why it is a home improvement task no homeowner should overlook.
- Radon gas reduction: Due to its peculiar nature, radon gas is basically undetectable, odds being that you will realize it is in abundance when it’s too late. Poisoning with the colorless, odorless, and tasteless gas can be prevented via this simple procedure, however, as it won’t be able to seep inside your home through the crawl space anymore.
Step-by-Step Crawlspace Encapsulation Guide
Warning: For every thousand square feet of space, it takes an estimated 8 to 10 hours to follow through with the procedure. Keep in mind that this is a medium- to high-difficulty DIY project that entails taping, cutting, and drilling, aside from the likely inconvenient fact that you will work in a tight space.
Step #1 – Prepping
Cleaning out the area and getting it ready for the encapsulation procedure is the first step in the process, and it’s likely the most difficult as well, especially if the property is old or there have been previous owners who haven’t ever taken care of it.
- Check for standing water and get rid of it ASAP as, during the whole installation process, you will need to bring in power tools and even lighting, risking electrocution if you don’t take care of this issue beforehand.
- Take out all debris that you find, including old insulation and poly. Make sure the surfaces are smooth and clean.
- Check for loose wiring, wood rot, termite damage, and rundown pipes, and call in professionals if there are any problems to solve before you begin.
- If you consider adding a dehumidifier, decide where the drainage will go.
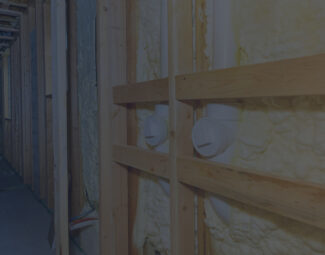
Step #2 – Walls
It is advised to start with the upright surfaces so that you utilize the material as optimally as possible. Check to see what local building rules say about leaving an opening at the top of the walls as in some instances, it is specified to leave a 6” gap there. If there isn’t anything specified, leave at least 3” so that you can later check for termites if this issue ever emerges.
Start off the whole procedure by applying double-sided tape to the wall as it serves the purpose of keeping the insulation in position until you later progress to fasten it properly into place. Remove a side of the release liner and push the adhesive firmly, moving in a straight line during the process, and repeat for the remaining release liners.
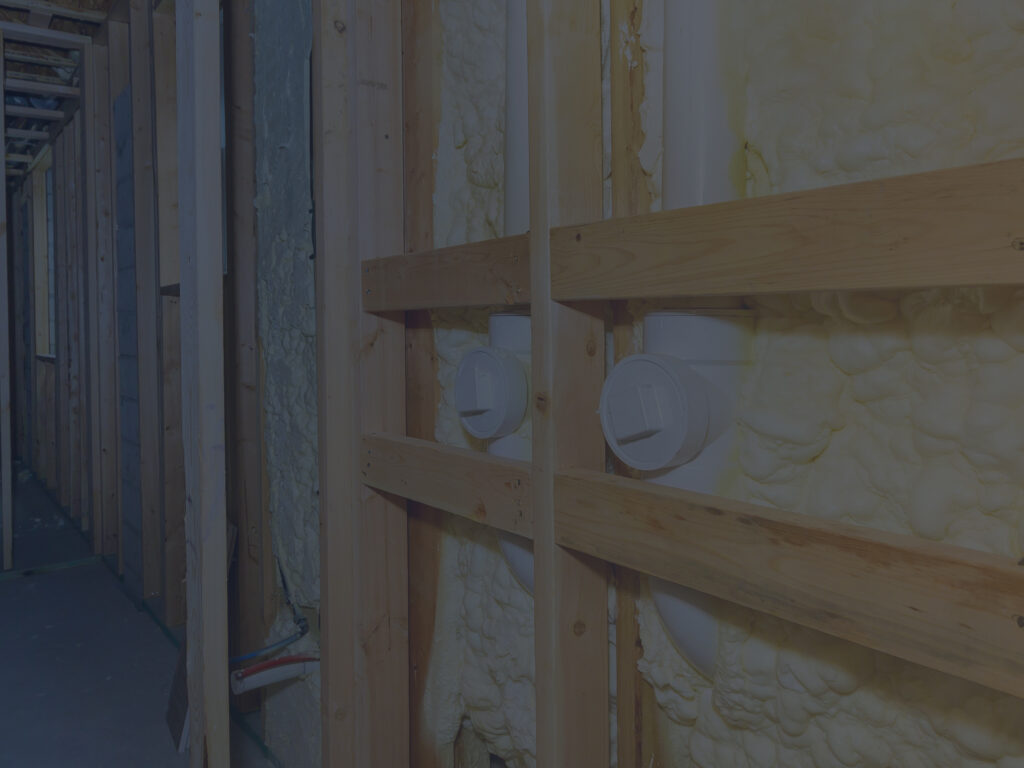
Remove any remaining bare release liner so that you get ready to add the vapor block. Unfold it and apply it to the bare tape, making sure that it extends higher than the tape. Then, secure it utilizing termination bars or other fasteners of your preference. During this part, you might need to drill holes in the wall, so make sure that you have the right tool for the job to cut down on the time spent.
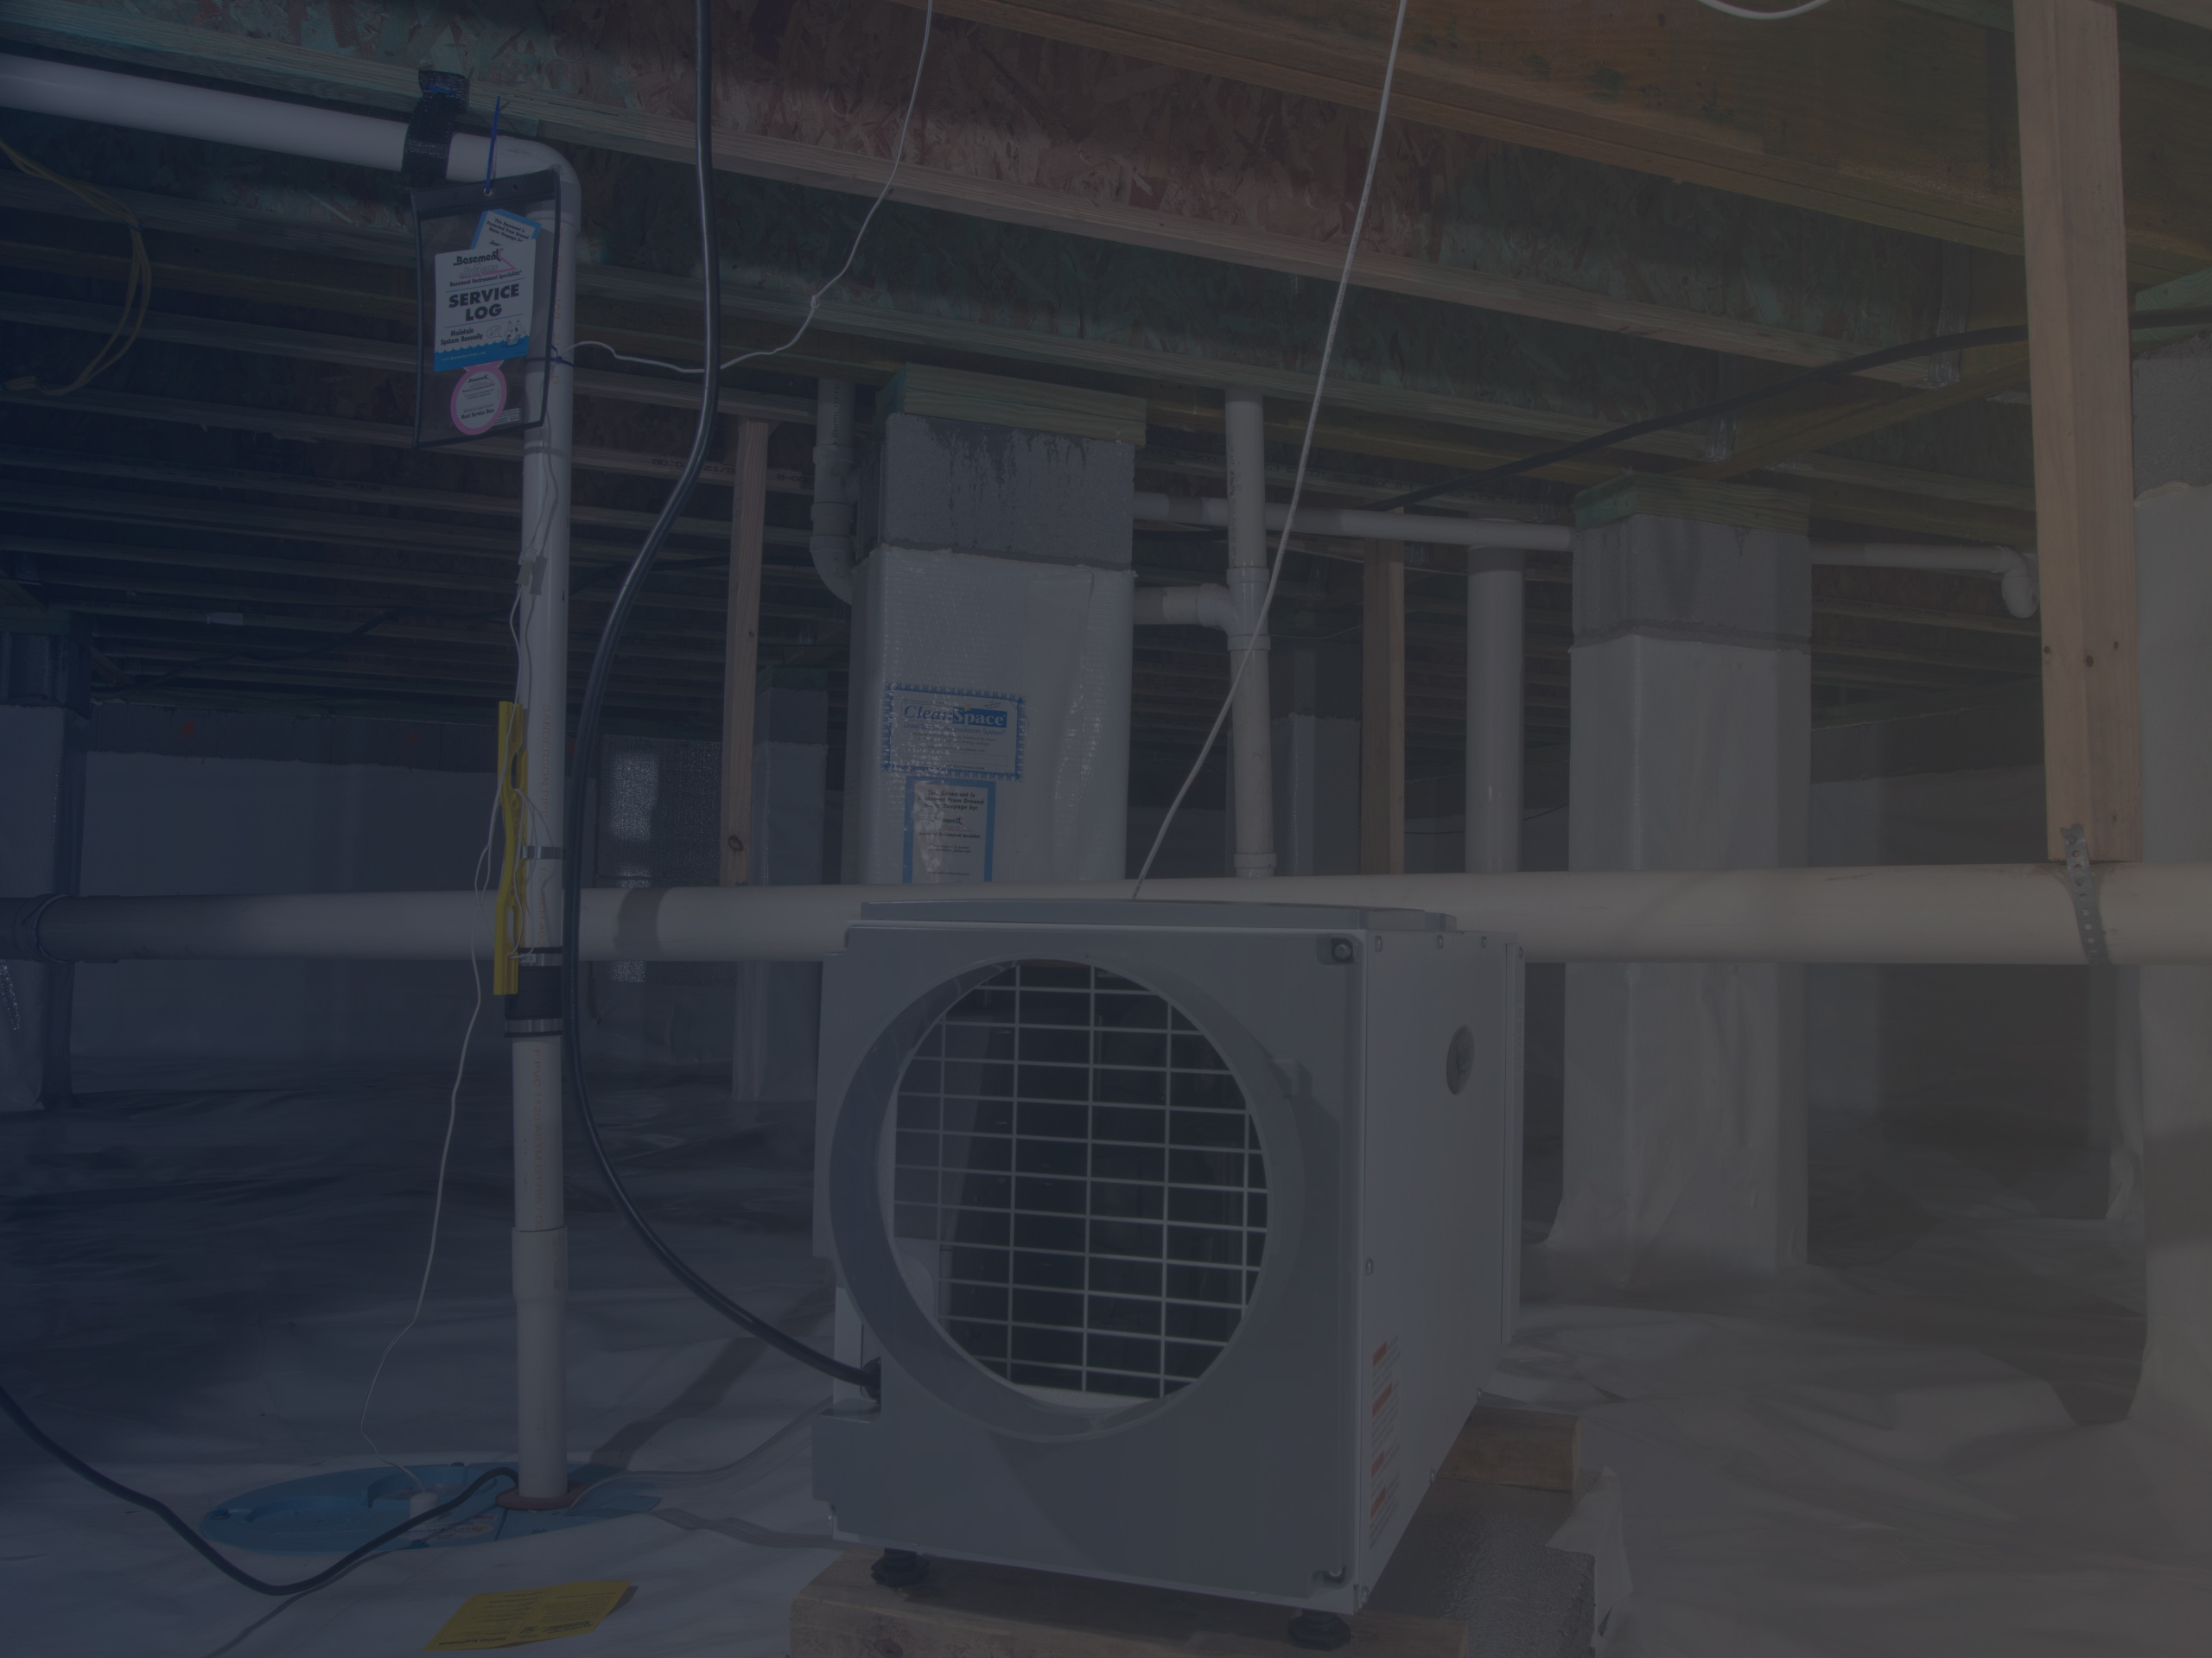
Large-Capacity Dehumidifier in Encapsulated Crawl Space
Step #3 – Penetrations
In case there are pipes or any type of utility penetrations that go up into the house, scale the barrier to each protrusion by cutting the material so that it will fit around tight spots. Use seaming tape to ensure everything stays down. As the end purpose is to seal the space from gases and vapor, make sure that you have tightly put up the barrier around all penetrations.
Step #4 – Columns
Some structures may include columns, and if this is the case for you, know that you can’t overlook them either during the encapsulation. The procedure is the same as with the foundation walls – apply double-sided tape first, light vapor block, and finish off with the fastener of your choice.
Step #5 – Covering
Now you can finish off by covering the whole surface with a roll. As you follow through, make sure that all seams are overlaid by a minimum of 6”, taping everything down to ensure it’s airtight. It’s preferable that you look into your options closely and pick a wide-size roll that covers the ground faster to save time.
Your Questions Answered
How much does the procedure cost?
If you opt for professional contracting and vapor black installation is involved as well, costs range from $1,500 to $15,000. This evidently varies depending on the size and previous condition of the crawl space, as well as other factors, including materials, labor, accessibility, and repairs.
Does it work?
Yes, encapsulation does indeed provide the promised benefits, so it is worth every cent. In the long run, you actually end up saving money if you follow through with it, and you create a safer and more comfortable living environment for yourself as well seeing how mold, pests, and structural damage won’t pose an issue anymore.
Is a vapor barrier better than insulation?
Yes, if you combine adding a vapor barrier that blocks moisture and radon gas from seeping in with the use of a dehumidifier for the crawl space, it proves to be a much more efficient solution for moisture prevention as opposed to insulation that only reduces dampness.
How does it help with home inspection?
For your property to pass the home inspection, some of the requirements are for there to be no wood or general structural rot, foundational damage, or mold growth in any area, and encapsulation provides all of these benefits.
Will concrete filling suffice?
No, concrete is not a good enough substitute for encapsulation as the material is porous, with moisture having an easy time traveling through it. For this reason, it is recommended that you insulate concrete basements as well.
Is hiring a professional better?
This depends on how much free time and skill you have. It’s not impossible to follow through with the procedure on your own, but specialized contractors are indeed better suited for the task as it is their job to handle the procedure and they may spot and prevent problems to ensure the project meets code requirements at the end.
Final Words
As aforementioned, this is a procedure you can take up yourself on the weekend or over the span of a few days with the help of a friend or loved one. However, don’t be stubborn as, if you consider that any of the steps might overwhelm you and are out of your skill range, it is best to hire a specialized company. Costs are high no matter if you do it on your own or employ someone (definitely cheaper if you do it yourself, evidently).
Make sure that you add a dehumidification system here as well as regardless of how confident you are regarding the quality of your work, humidity can still pose an issue up to a point, and mold growth is the last thing you want, not to mention the repercussions had on structural integrity and the foundation as a whole. To wrap it all up, we hope that the guiding lines provided here help you realize how important encapsulation is and why you can’t go without it and that you have received the requisite guidance to perform it yourself if you want to turn it into a DIY home improvement project.


