W ith mold growth, situations differ from one household to another, but as long as the damage isn’t too advanced, you can perform remediation on your own and ensure a healthy living environment once more. There are over 300,000 types of mold out there, and some, like black mold, can pose a threat to your well-being if not dealt with ASAP.
However, be careful as DIY remediation can backfire if not performed properly, so caution and attention to every detail are needed if you take it up on your own rather than call in professionals for the job. In this article, we will dive into the matter of mold remediation, providing you with the necessary guidelines to perform the procedure on your own. Moreover, we will get to the bottom of the issue by also looking into causes and prevention tactics.
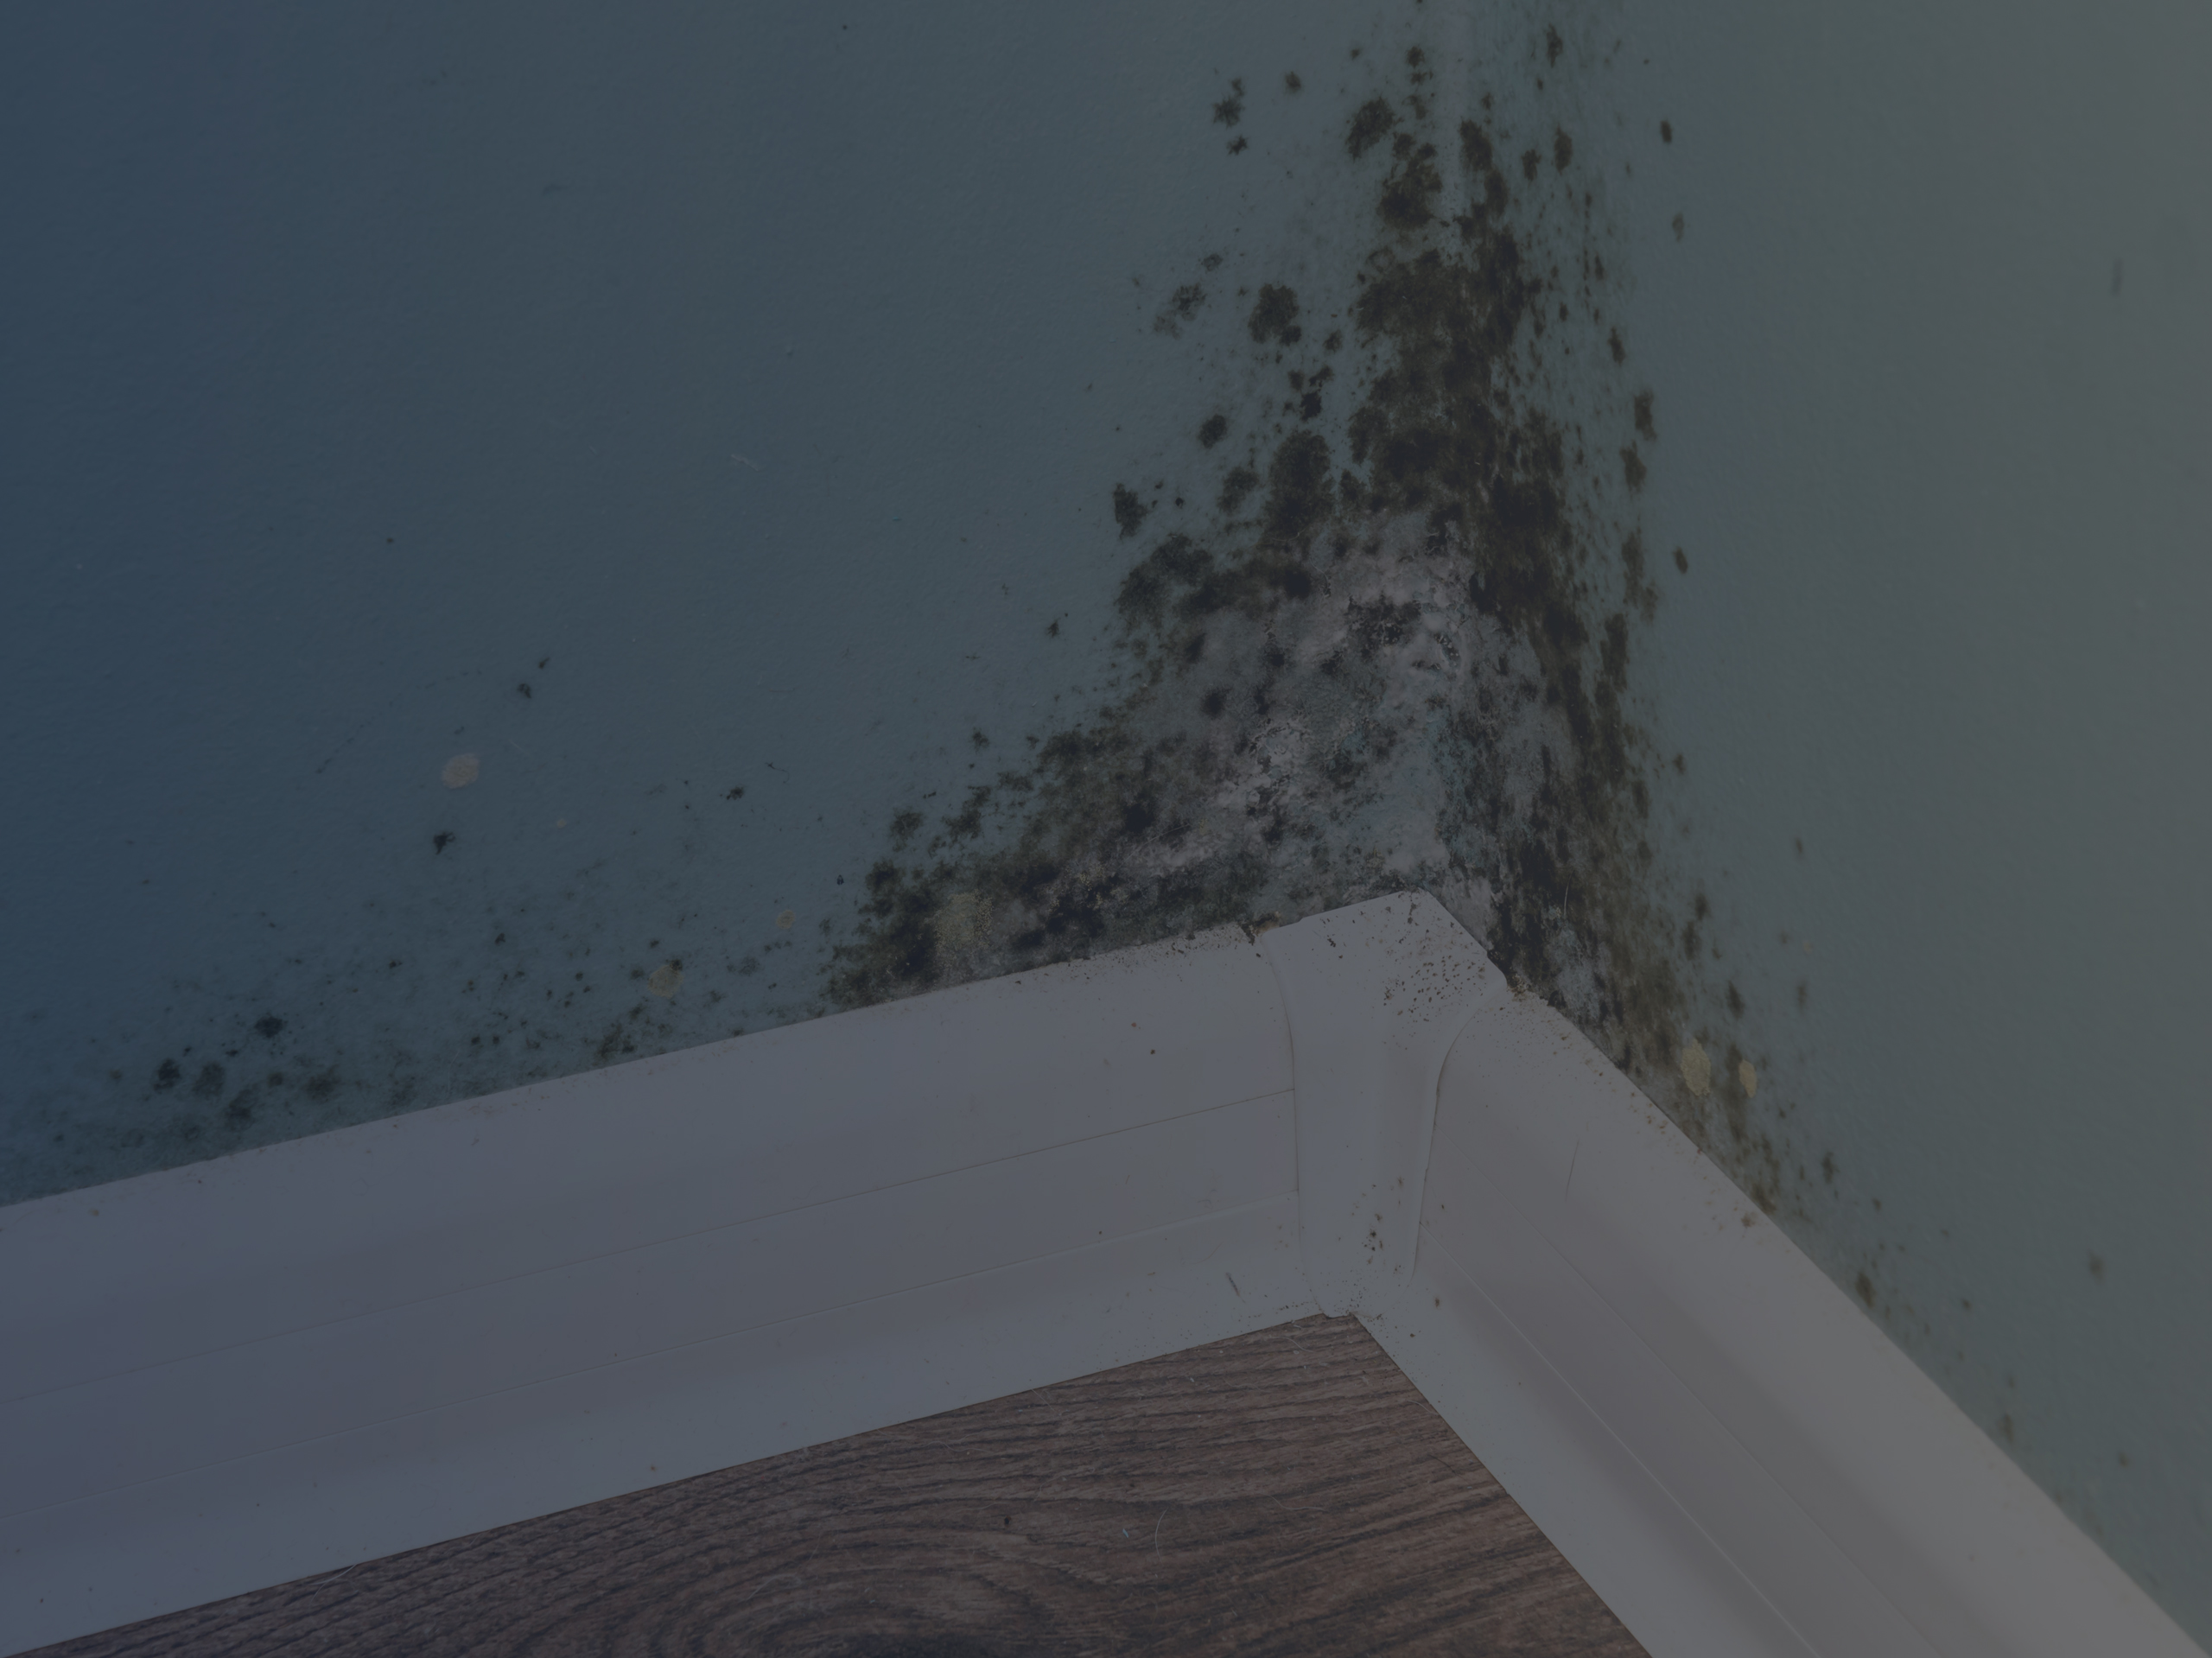
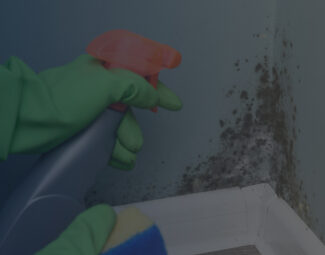
Close-Up of Black Mold on Wall
Mold development 101 - Covering the basics
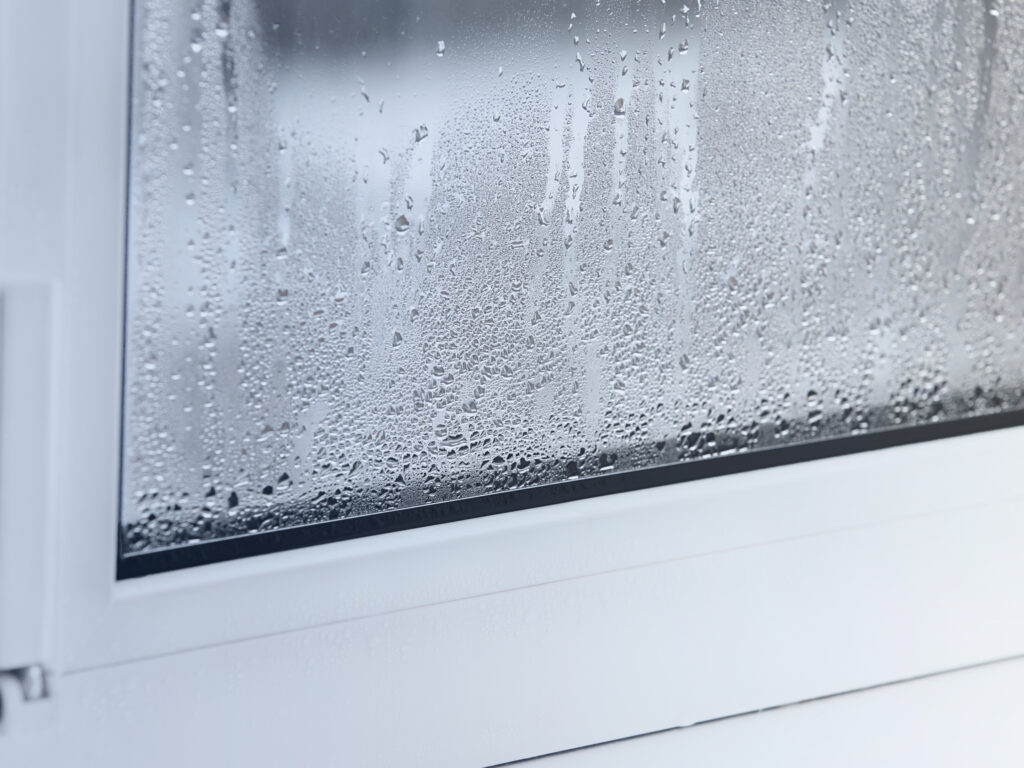
While outdoors, its role is essential as it breaks down organic matter, when it develops indoors, it doesn’t spell good news for the building and its inhabitants. There are multiple species of mold that you can deal with, but what all of them have in common is their reproducing manner – the spores float around and when they land on wet surfaces, start to develop and spread out. Basically, as long as you don’t have any water damage and relative humidity levels are kept within regular parameters, mold won’t develop.
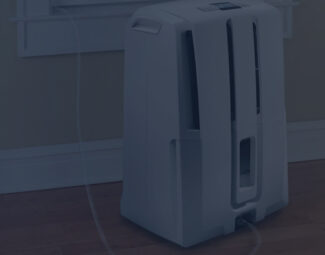
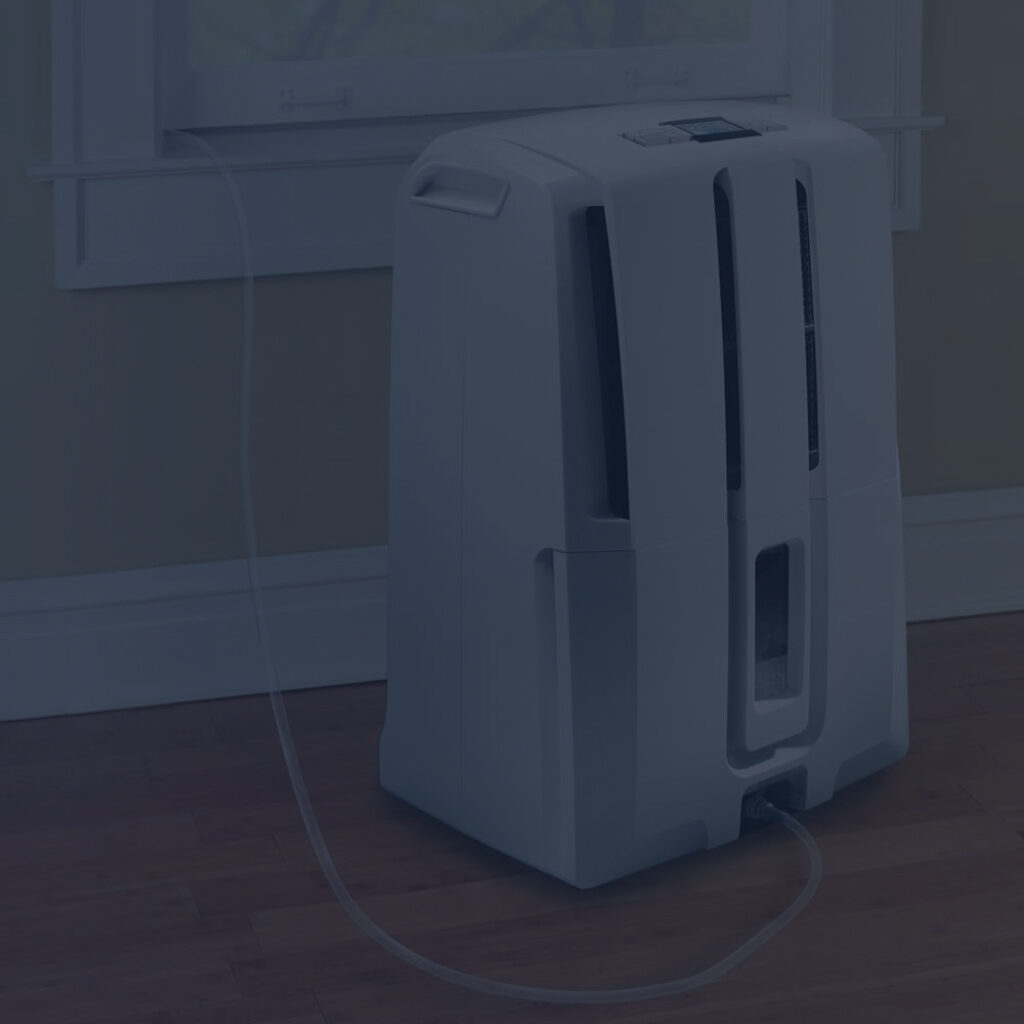
See what are the best dehumidifiers that you can use for mold prevention as, in the absence of high humidity, mold will not develop indoors.
Before we begin our guide for mold remediation, however, let’s first answer three key questions that are on every homeowner’s mind when it comes to the issue of mold development - source, effect, and prevention.
Question #1: What are the origins of mold development indoors?
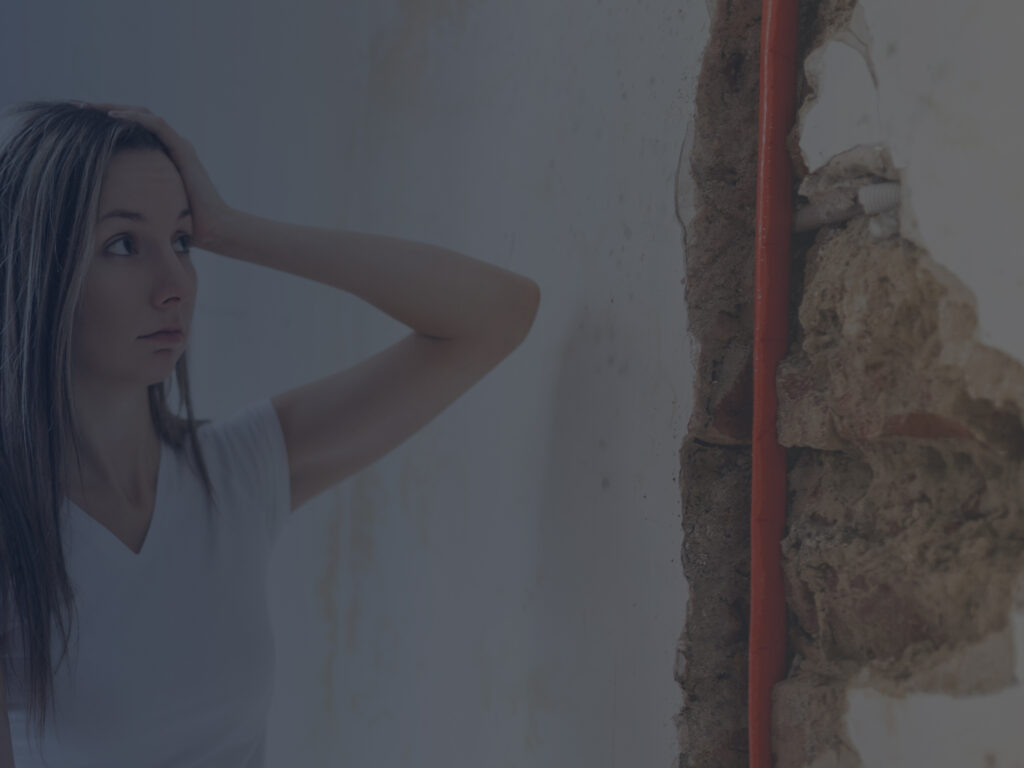
Answer: As aforementioned, excess dampness is the cause of mold growth. When it comes to the sources of excess wetness indoors, the most common problems from which the whole situation spans include plumbing backups, improper attic ventilation, roof leaks, wet carpet/floor, mold spore-infested HVAC ducts, moisture in attics, ceilings, or walls, and water sitting in the basement or crawl space.
Tip: In case you have high humidity in the crawlway, make sure to use a specialized crawl space dehumidifier as this type of system is specially designed to fit the tight area, handle its wide surface, and can wick away higher amounts of moisture as opposed to classic dehumidification systems.
Question #2: Does mold pose a health threat?
Answer: Molds release allergens, irritants, and mycotoxins. When you inhale or touch mold spores lingering in the air, some of the health repercussions include dermatitis, lung irritation, throat irritation, sneezing, red eyes, and a runny nose. If you suffer from asthma and are hypersensitive to mold, you will suffer more frequent asthma attacks as well.
Question #3: Can you prevent mold growth?
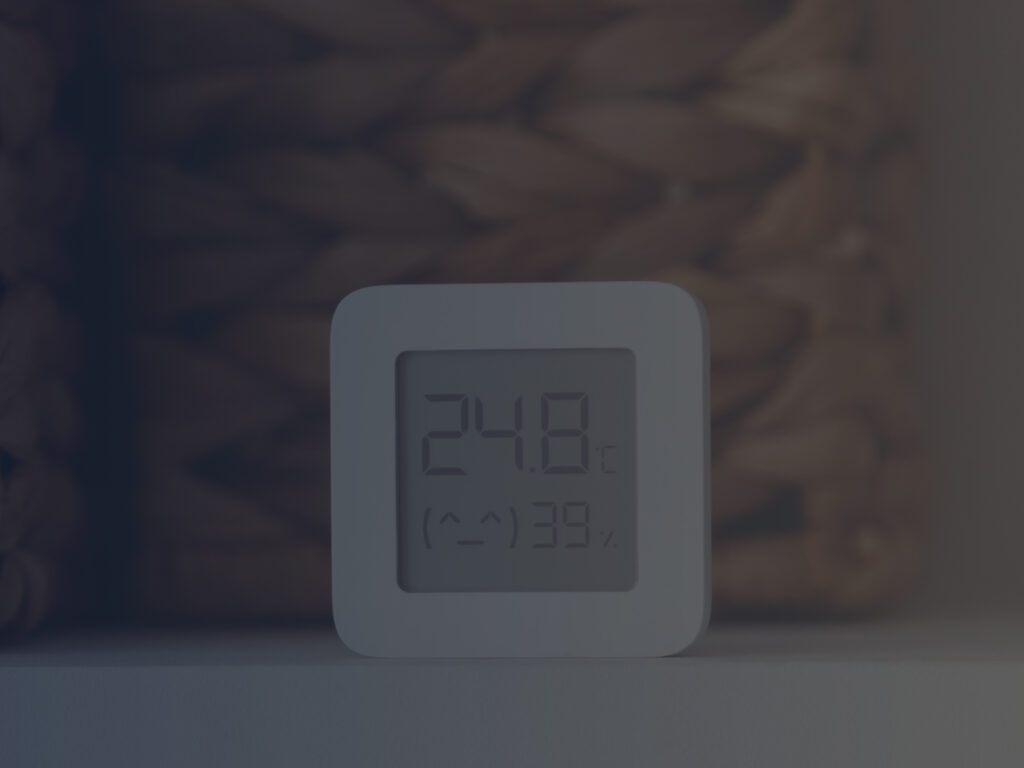
Answer: As long as you avoid high humidity indoors, there won’t be proper conditions for mold to grow and spread. Thus, prevention is actually quite simple – just follow through with reparations where needed to make sure water doesn’t seep in, set in place proper ventilation for air circulation, and use appropriate dehumidification systems for each space. For example, if you seek to prevent mold from growing in the bathroom, a room generally affected by this issue as the air is very moist because of shower and bath vapors, use a bathroom dehumidifier to tackle the problem as it is specially designed to not occupy too much space and handle the environmental conditions in this room.
Mold Remediation Procedure Explained
Before we start with the remediation procedure steps you must follow, let’s first list the attire you need to put together so that you are properly protected while handling the health-threatening mold:
- Goggles: Throughout the entire procedure, make sure that you wear goggles that lack venting holes for the spores to not enter your eyes.
- Gloves: It is best for them to extend as much as possible so that your skin doesn’t enter into contact with the solutions you use or the mold. Preferably, opt for gloves made with PVC, natural rubber, or polyurethane as these materials are more resistant to potent cleaning solutions and disinfectants.
- N-95 respirator: By now, you are likely more than aware of what an N-95 respirator is, maybe even already have one because of the COVID-19 coronavirus pandemic, this mask providing the highest level of protection against the dreaded virus. The respirators feature cartridges that trap mold spores and prevent you from inhaling them. Just make sure that the one you wear fits you right so that it provides optimal protection.
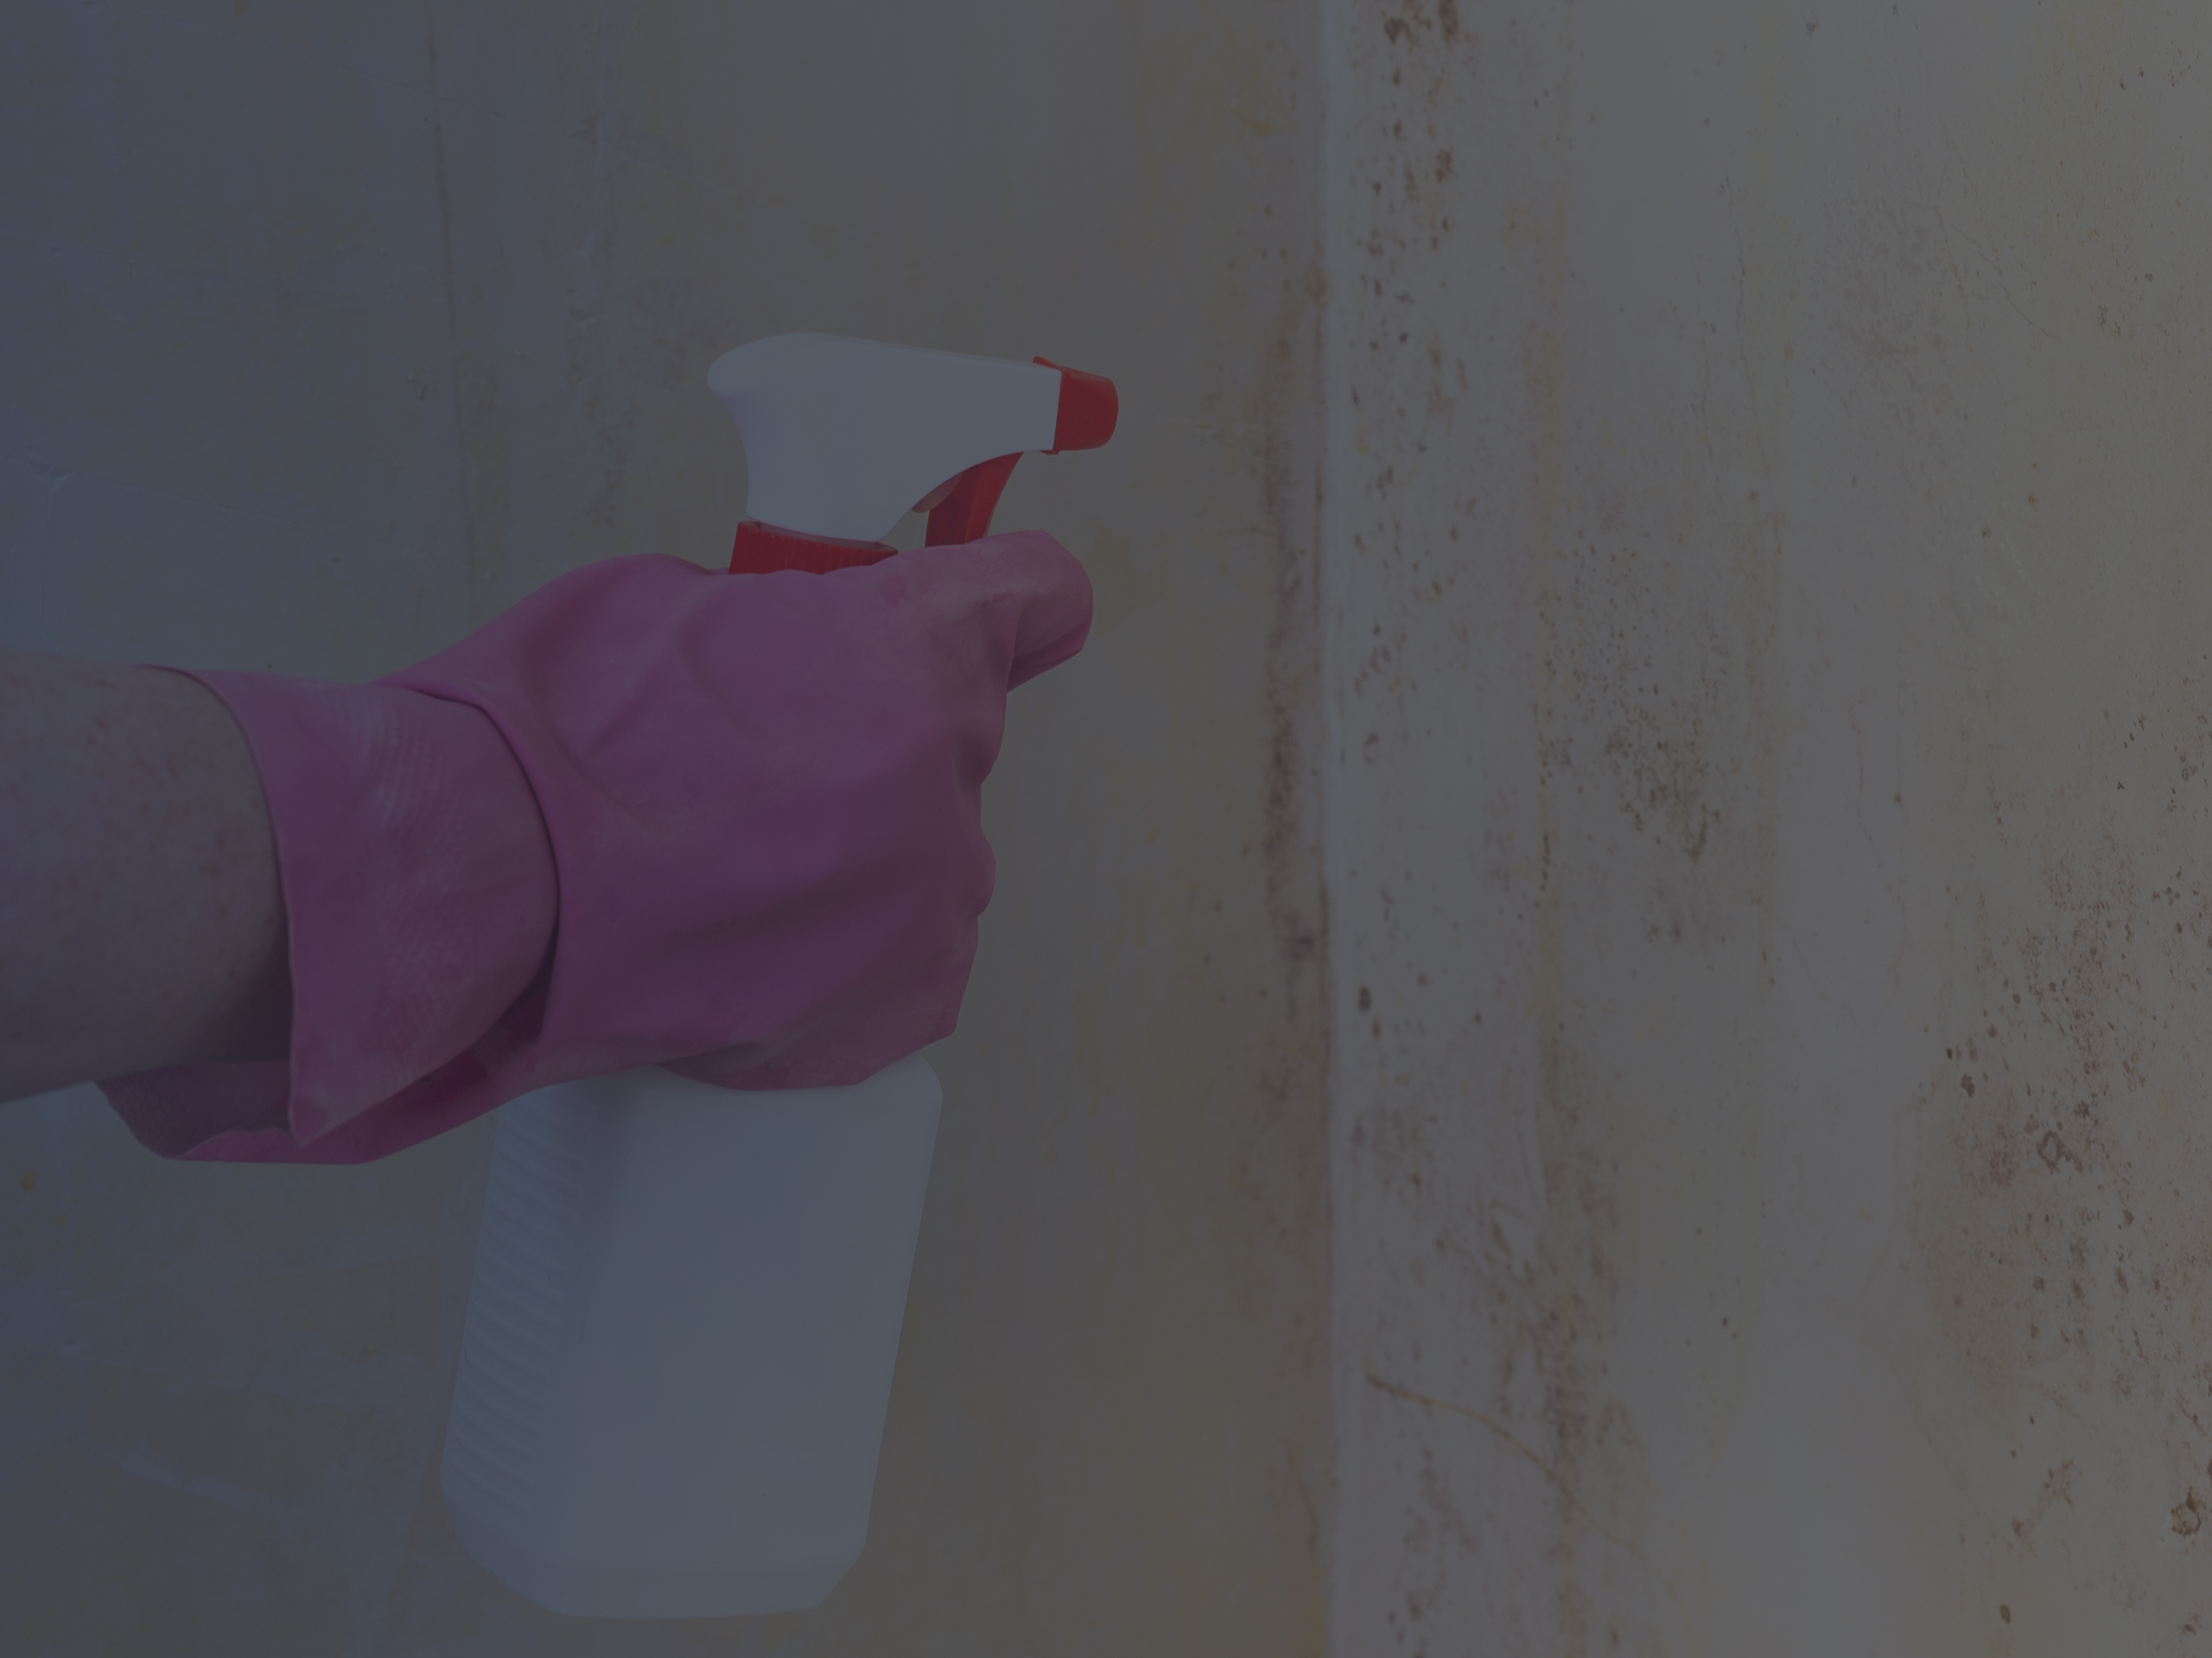
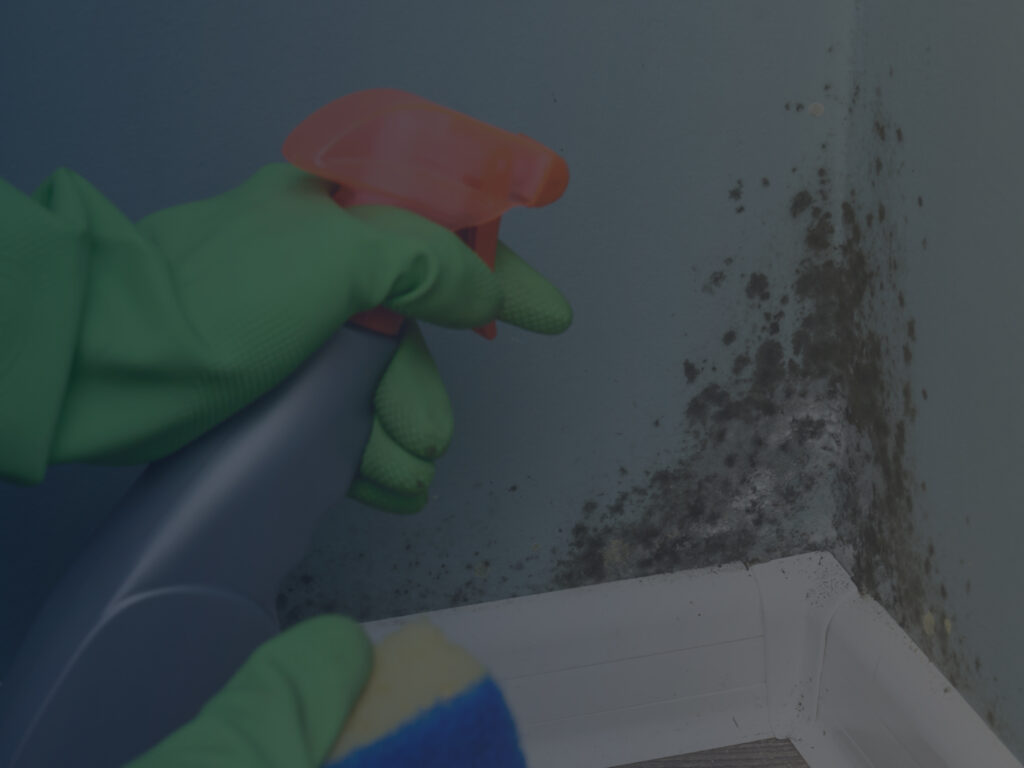
Using Chemical Spray to Remove Mold
Step-by-Step Mold Cleanup Guide
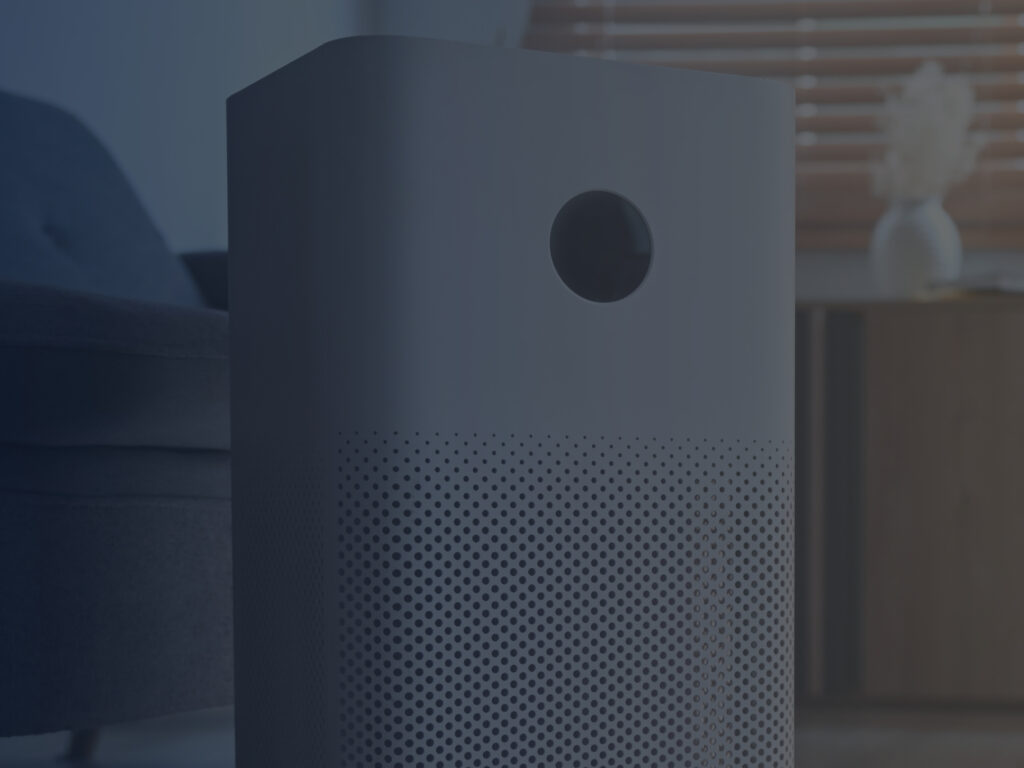
- Containment: If the room affected is small in size, like the bathroom or bedroom, you can simply close the door to contain the area and make sure mold doesn’t invade other living spaces. If the area is bigger, however, like the basement, use plastic sheeting to surround the area and trap the mold within. Ideally, make sure that the containment area has a window that you can open, directing a box fan toward it so that you expel the dirty air outside. Another safety measure would be to run an air purifier that uses HEPA filtration so that any spores floating in the air are captured and eliminated.
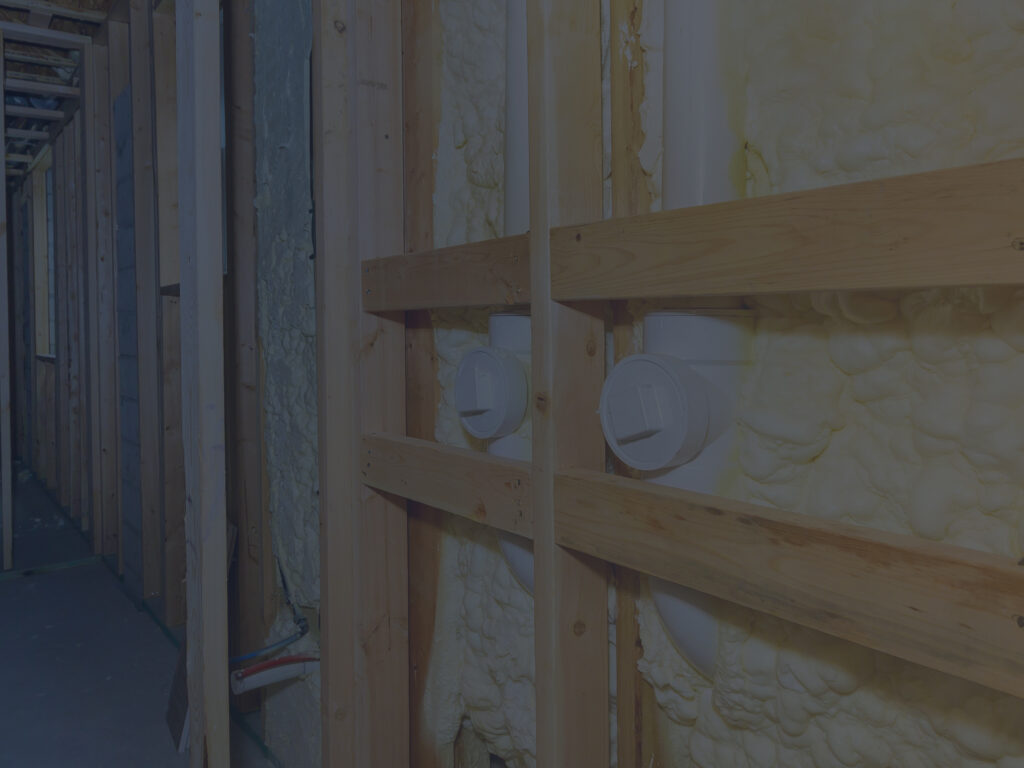
- Demolishing: This is required only if mold growth is caused by issues like leaks or flooding. If the mold issue is not that serious but rather only affects the surface, you can skip to the next step. If not, proceed to cut out and remove any mold and water-affected materials, like insulation, carpet, drywall, baseboard, carpet tack strip, and so on. To avoid contaminating other areas, bag them up and throw them out. Make sure to reach down to the 2×4 structural framing as you demolish because that is the area you need to clean.
- Cleaning with mold spray: Regardless if you are dealing with surface growth or you have previously gone through demolishing procedures to reach the structural framing, the cleaning procedure is basically the same. Get your hands on a cleaning agent that is rated to kill mold and treat the affected area with it (spray the area with it, let it sit for 5-10 minutes, and scrub it off using a sponge; if needed, repeat the procedure once more). Then, proceed to treat the area with a stain remover so that you don’t leave marks behind.
- Cleaning the work area: Now that you got rid of the mold, clean up the rest of the area by sweeping up dirt and wiping all the surfaces that have collected dust. Mop the floors as well to prevent cross-contamination as much as possible, and you can finally take down the containment you previously set in place.
- Rebuilding: If you have demolished, now it’s time to rebuild. First, you have to wait for the area to dry thoroughly. Then, check to see what was the source of the flooding or leak and fix it to prevent recontamination with mold later down the road. Seeing how you are down to the structural framing, it will be easy to spot the problem’s source. When you are done with all this, rebuild and you are good to go, minding your business normally as mold won’t make a comeback.
Final Words
As you can see, mold removal isn’t an impossible feat. However, make sure that you don’t opt for the DIY route but rather call in a professional if the affected area is larger than 10 sq. ft. Otherwise, you risk not doing a good enough job, which in turn means trouble later down the road as mold will come back. In the end, the good news is that mold remediation is an operation that proves 100% effective when done right and completely takes out the mold, regardless if you follow indications and do it on your own or hire a contractor.


