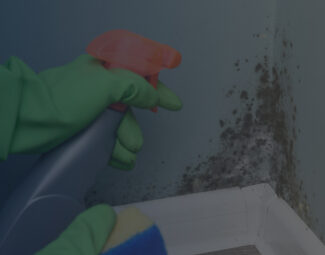
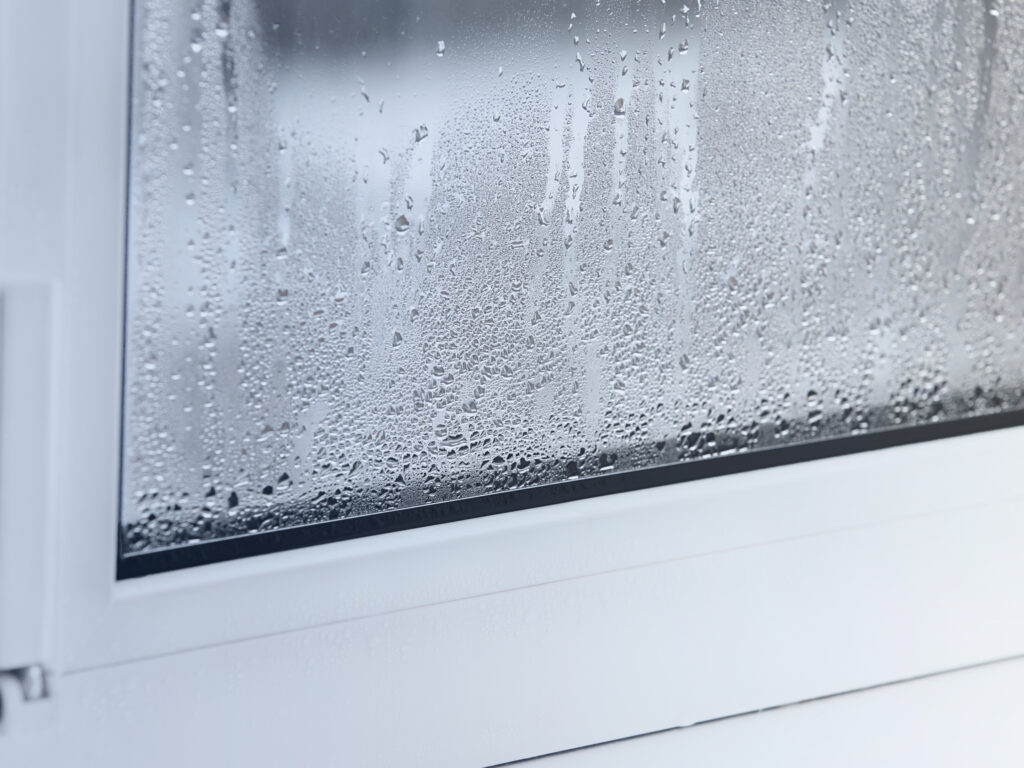
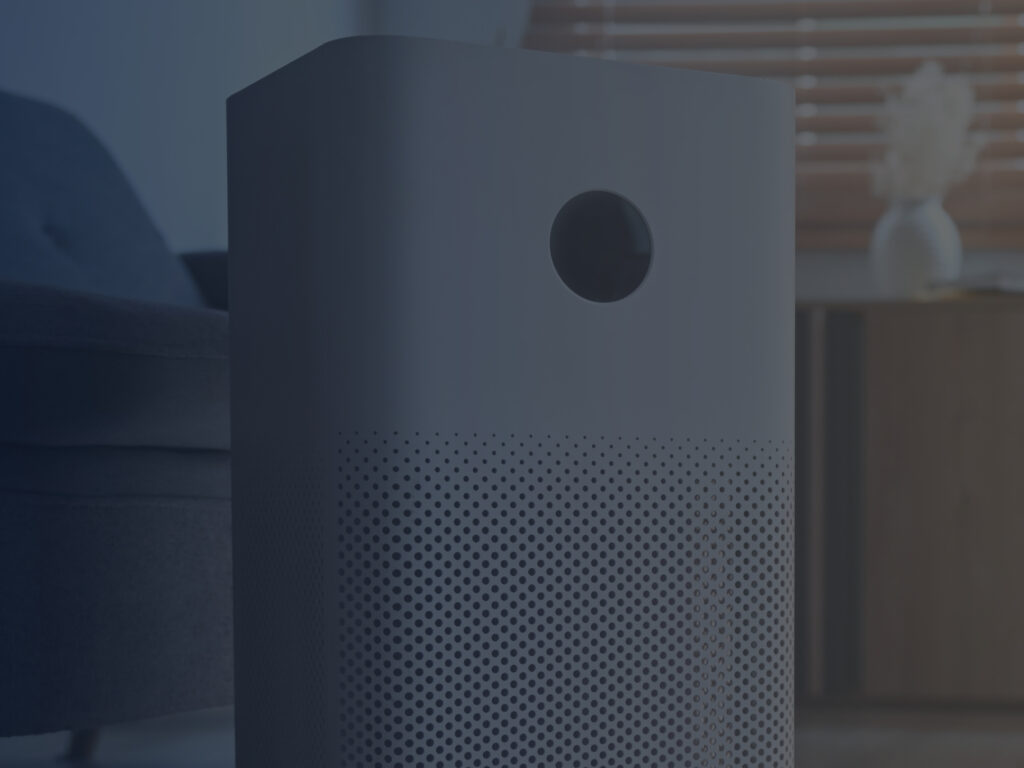
M ost people set up a dehumidification system in their home after discovering that mold and mildew started growing on the walls or, worse, on the furniture and upholstery. This is a sign that the air is damp and the RH has overcome 50%-60%. The device’s job is to collect the excess water and, for this, it uses a fan and a bucket, which are usually protected by a filter or a filtering system.
In general, moisture removal is performed without assistance on your part. If you set it up to work continuously and dispose of the water in a drain or a sink, you won’t even need to empty the reservoir. And even if you don’t choose this option, they usually come with large water recipients that won’t put too much pressure on you. Nevertheless, one thing is mandatory, namely periodical cleaning and maintenance. When water is implied in the process, there will be mold, especially if the unit functions in an environment where the spores are already present and can enter the system.
So, keep on reading and find out what procedures you should follow to perform a thorough cleansing in safe conditions.
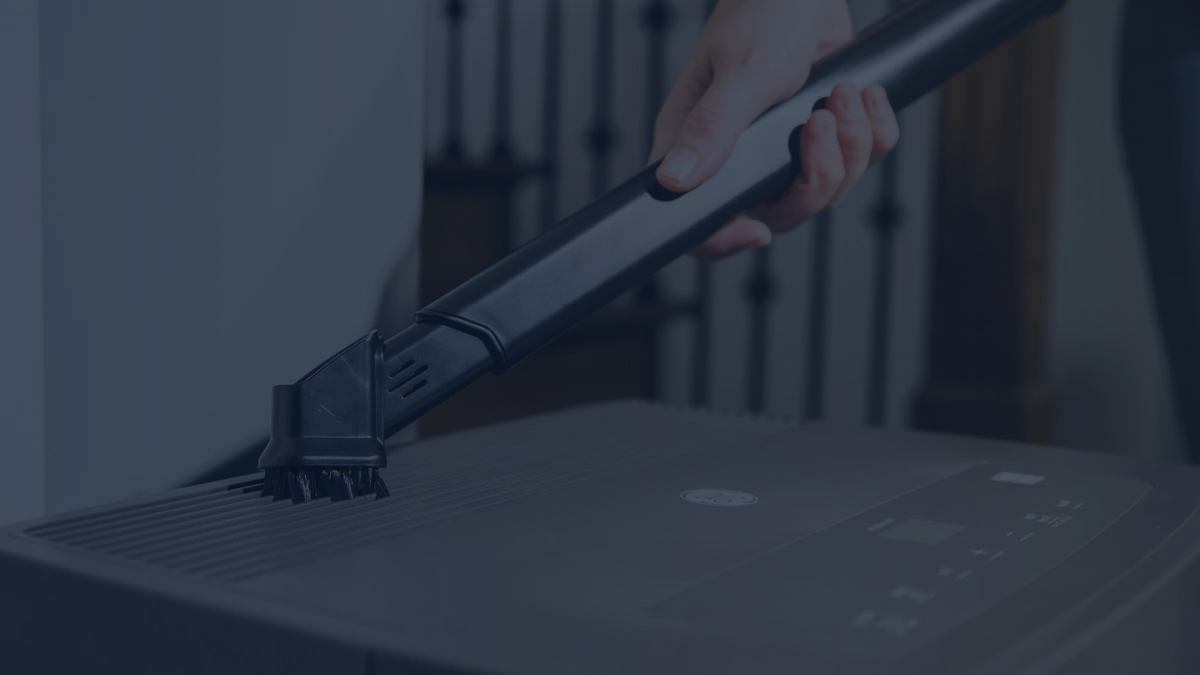
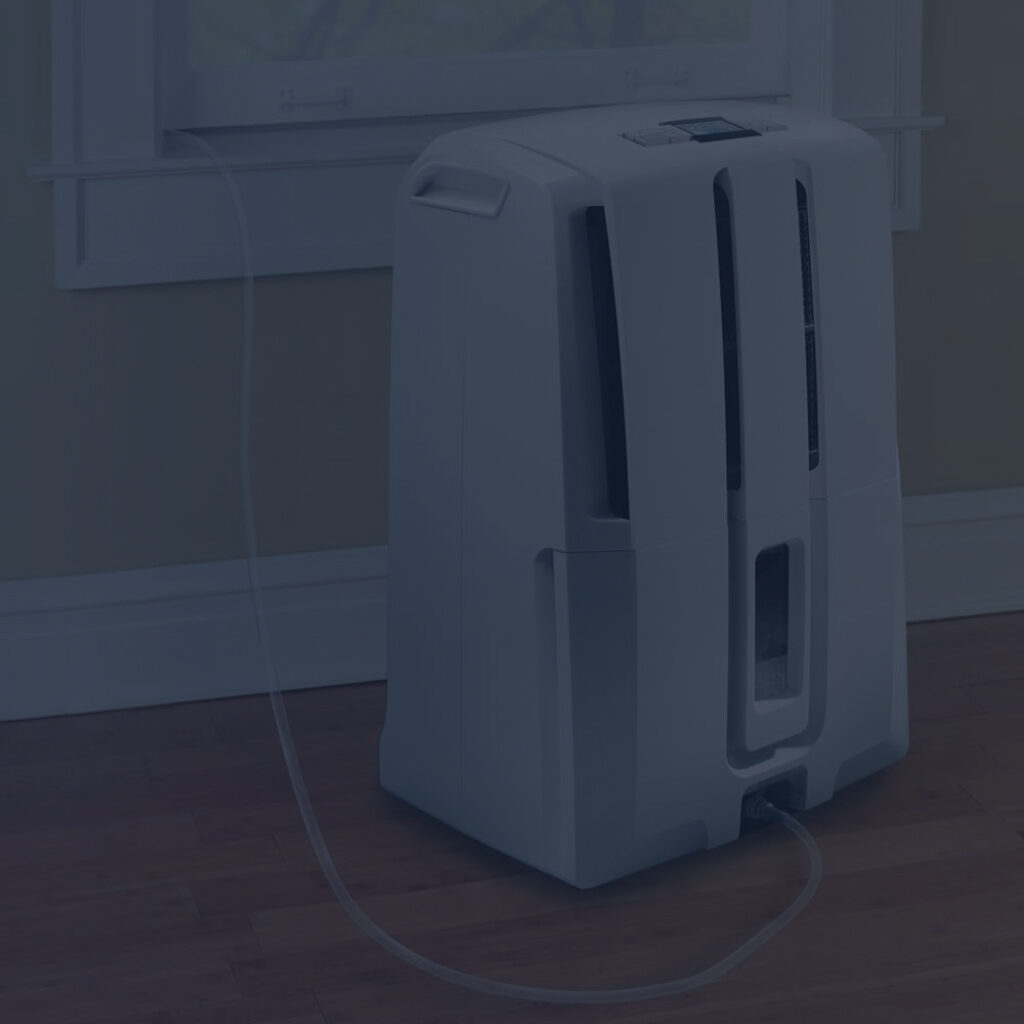
Woman Vacuuming Dehumidifier Exterior
How Often Should You Clean the Dehumidifier?
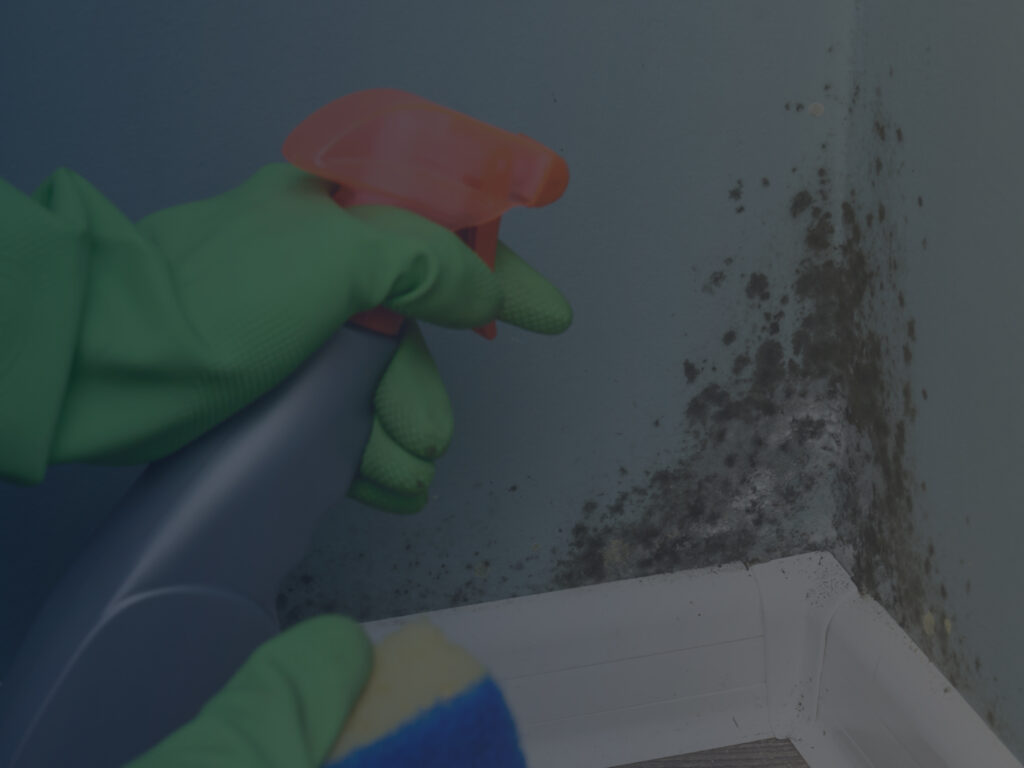
Most manufacturers recommend a complete cleaning of the components once or twice a month, but, in some cases, you may have to perform it sooner. In fact, every time you empty the bucket you should check if mold has found its way in on the plastic walls. If there’s no sign, rinse the bucket and place it back in, but if you spot something looking like black slime, it is time to go searching for the cleaning supplies. If the mold grows inside the unit, it won’t be long until the spores are spread into the air, becoming even more dangerous and stirring up allergies.
Step-by-Step Dehumidifier Cleaning Guide
- Step 1 – Prepare the unit - Before starting the cleaning process, make sure the machine is turned off and unplugged. As you will need to remove some of the components, or even unscrew some covers, it is best to make sure the power is off and you won’t get electrocuted.
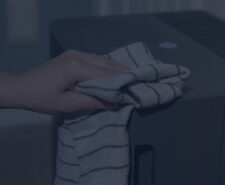
- Step 2 – Cleanse the exterior - Dust is a problem in every house, and it will set on everything, so use a dry towel to remove it from the surface of the unit. If you use a dehumidifier for the basement, there may be more dirt on the housing, so, in this case, you can wet the cloth to make sure you can remove it. However, you should remember never to pulverize cleaning substances directly on the shell, as they may produce discoloration or unaesthetic spots.
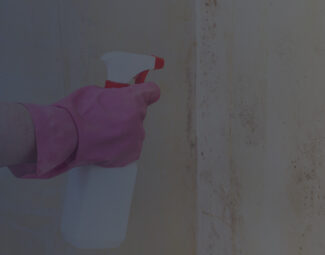
- Step 3 – Clean the bucket - Empty it if necessary. For this step, you will need some dish soap or mild liquid hand soap, and a brush. Fill 1⁄4 of the bucket with water and add 1 gush of soap. Utilize the brush to get all the spots out. Rinse.
- Step 4 – Sanitize the bucket - You will need vinegar and a cloth. Spray the bucket with white vinegar and leave it around 10 minutes to drench. Wipe the walls and let them dry.
- Step 5 – Cleanse the coils - Refrigerant models come with coils that can get pretty messy. Scrub the dirt until you remove most of it. Then spray the coils with vinegar and water mix and let it for a few minutes to act. In the end, cover the motor to protect it and gently pour lukewarm water on the coils to rinse them. Before assembly, let everything dry properly.
- Step 6 – Cleanse the filter - Most units come with a washable filter, so you won’t need to replace them unless they show signs of degradation. To clean the filter, you will need to remove it first. In most cases, it is located at the back of the unit, but if you cannot find it, check the user’s manual. It will tell you exactly where to look. Unless the manufacturer gives you specific instructions, you should proceed as follows: vacuum the filter to remove all the dust and mold it has collected. If it is a washable model, prepare a large recipient with water and immerse it for 10 minutes. Let it dry entirely.
- Step 7 – Cleanse the bucket’s filter - Not all the units come with it, so check the owner’s manual to see if yours comes with one. If it does, just remove it and rinse it under warm water.
- Step 8 – Final check - After all the components have thoroughly dried out, place them in their spots, and plug in the unit. Check the display for any faults. Then, let it run for a few hours and check if it is amassing water properly.
If you opt for continuous drainage, mold and dust can deposit on the inside of the hose, especially if you use the commercial dehumidifier, so clean it with warm water and soap and then pour some vinegar through it and let it soak.
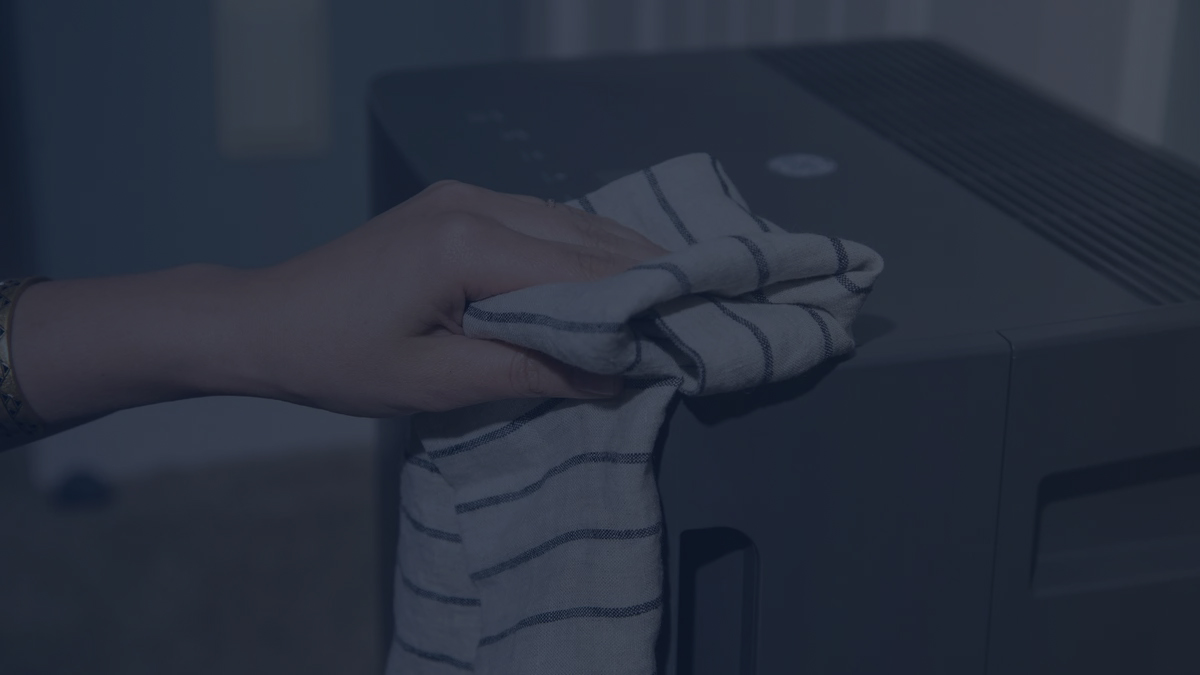
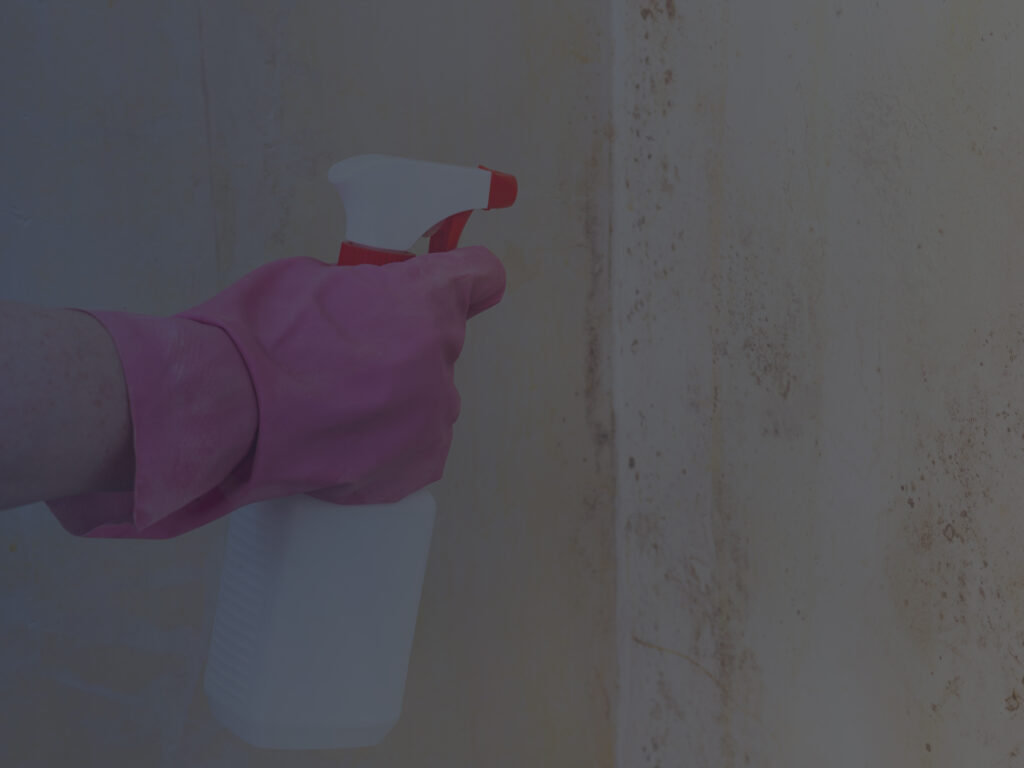
Woman Wiping Dehumidifier Exterior
Bonus: Useful Maintenance Tips
- Find a good position - Place it far from the wall to permit it to work at full capacity
- Keep frost under control - If you live in an area where temperatures tend to get really low, choose a model with auto-defrost that can keep working safely even at 41 degrees F
- Replace the filter - It may say washable or permanent, but if it stopped functioning properly, it’s time to invest in a new one to make sure the internal components are protected
Final Thoughts
It is amazing what a dehumidifier can do for your home or for let’s say your construction site if you are using a commercial model. But it cannot work infinitely without proper maintenance. So, don’t wait until it starts giving signs that it is clogged with mold and dirt. Make a purpose from cleaning it at least once every 3 weeks and stick to it. Thus, you will increase its lifespan and guarantee that it can deliver the same results every day of the week. Not to mention that you will avoid it turning into a health hazard, which is possible if the mold takes over its internal system.


