
T he proficiency of air conditioning systems when it comes to lowering indoor temperatures even during the most scorching summer days, as well as their long lifespan when maintained properly and cleaned routinely makes them the go-to solution for fighting heat in homes and offices all over the world.
After you get your hands on the window AC of your dreams, the final step before you can turn it on is to install it. Calling in an expert for it will cost you money, no surprise there. But what if you were to do it yourself? If this idea sounds good, continue with us to learn what steps you must take to perform a DIY installation of the window air conditioner, saving money and gaining experience in the process.

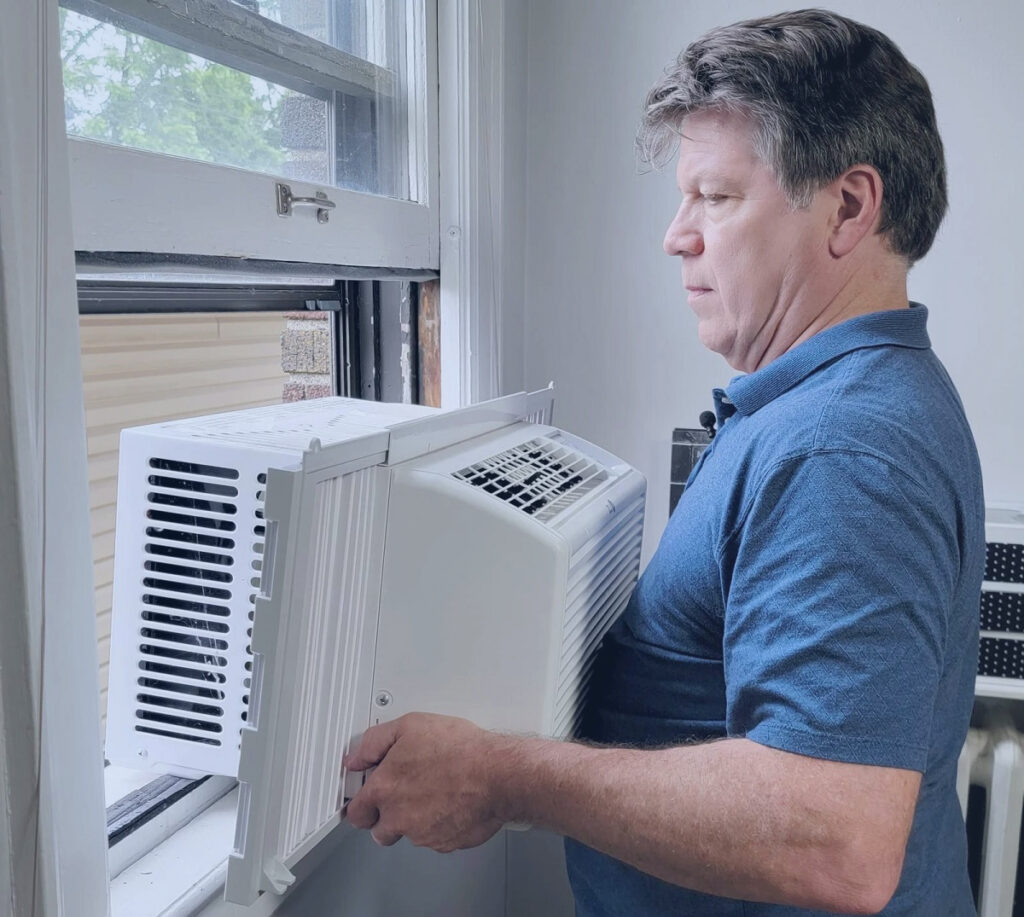
Window Air Conditioner with Side Insulated Foam Panel Setup
Can you install the air conditioner yourself?
Yes, the difficulty of this project is not that high, so if you follow the instructions, you will not face issues as you install the AC. However, there is the issue of whether or not you are allowed to install it yourself or if your specific situation or area that you live in does not allow it, a case in which you should hire a professional for the job.
In case you live in a condo complex or apartment, it is likely that you will be met with refusal in this sense as the reasoning is that in case you do not install it properly, it could pose a safety hazard as it might fall from the window. There are even neighborhoods that have homeowners’ association rules that do not permit DIY window AC setup.
Question: How long does it take to install the AC?
Answer: It does not take longer than a day to finish with the whole procedure and set up the AC, so not much time is lost before you can finally turn the AC on and enjoy its cooling effect.
What You Should Consider First
If you have not already bought a unit and are still searching for the best window AC, then check the following aspects before you settle on a specific product:
- #1. To properly size it to the room;
- #2. For it to be energy efficient;
- #3. What type of window the AC will be installed in.
Size the AC to the Room
Window-mounted models differ when it comes to their cooling prowess, and this is the first selection-determining element to look for. Only by sizing the AC to the area can you make sure it will not underperform as it is smaller than needed, nor will it be oversized, case in which it would end up raising humidity indoors. Instead, it will grant the expected cooling proficiency.
Their capacity spans from 5,000 BTUs to 25,000 BTUs, the higher the BTU value goes implying that the larger the room it can cool is. You can estimate the required capacity by multiplying the value of the room’s square footage by 20. However, we recommend that you use the listing provided here as guidance to match the system BTU to the room surface.
Look into the Energy Efficiency Ratio
As you likely intend to run the AC as long as needed to cool the room when it gets hot, you must consider the unit’s running cost efficiency as well. The best indicator for this is the energy efficiency ratio number, which is a value that typically spans from 8 to 12 with window units. To keep running costs as low as possible, pick one that is EER rated 10 or above.
Recommendation: Even if the AC does not have a minimum EER score of 10, it can still be a viable option when it comes to energy efficiency if it comes with the right features. These energy-saving elements include variable fan speeds, sleep settings, and digital temperature controls.
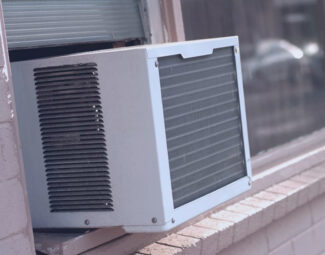
Assess the Window
First, decide on the installation spot - in a double-hung window, or in a casement or sliding window. This influences the pick you make when you shop for the AC as there are different-style units designed rendering to the window opening manner.
Prepping for the Installation
After you install the AC, you will not open this window for who knows how long, so wash the glass now as you won’t clean it anytime soon after this. Get rid of any tripping threats to create safe working conditions. Lastly, check for any obstructions in the opening that could hinder the overhanging portion of the AC, like storm window frames or screens.
Recommendation: If you have a storm window frame, it is recommended to secure a spacer block to the windowsill so that you lift the AC case away from it. This is the safer procedure as weather and vibrations can shift the unsecured spacer from its position, which could tilt the unit or cause it to fall.
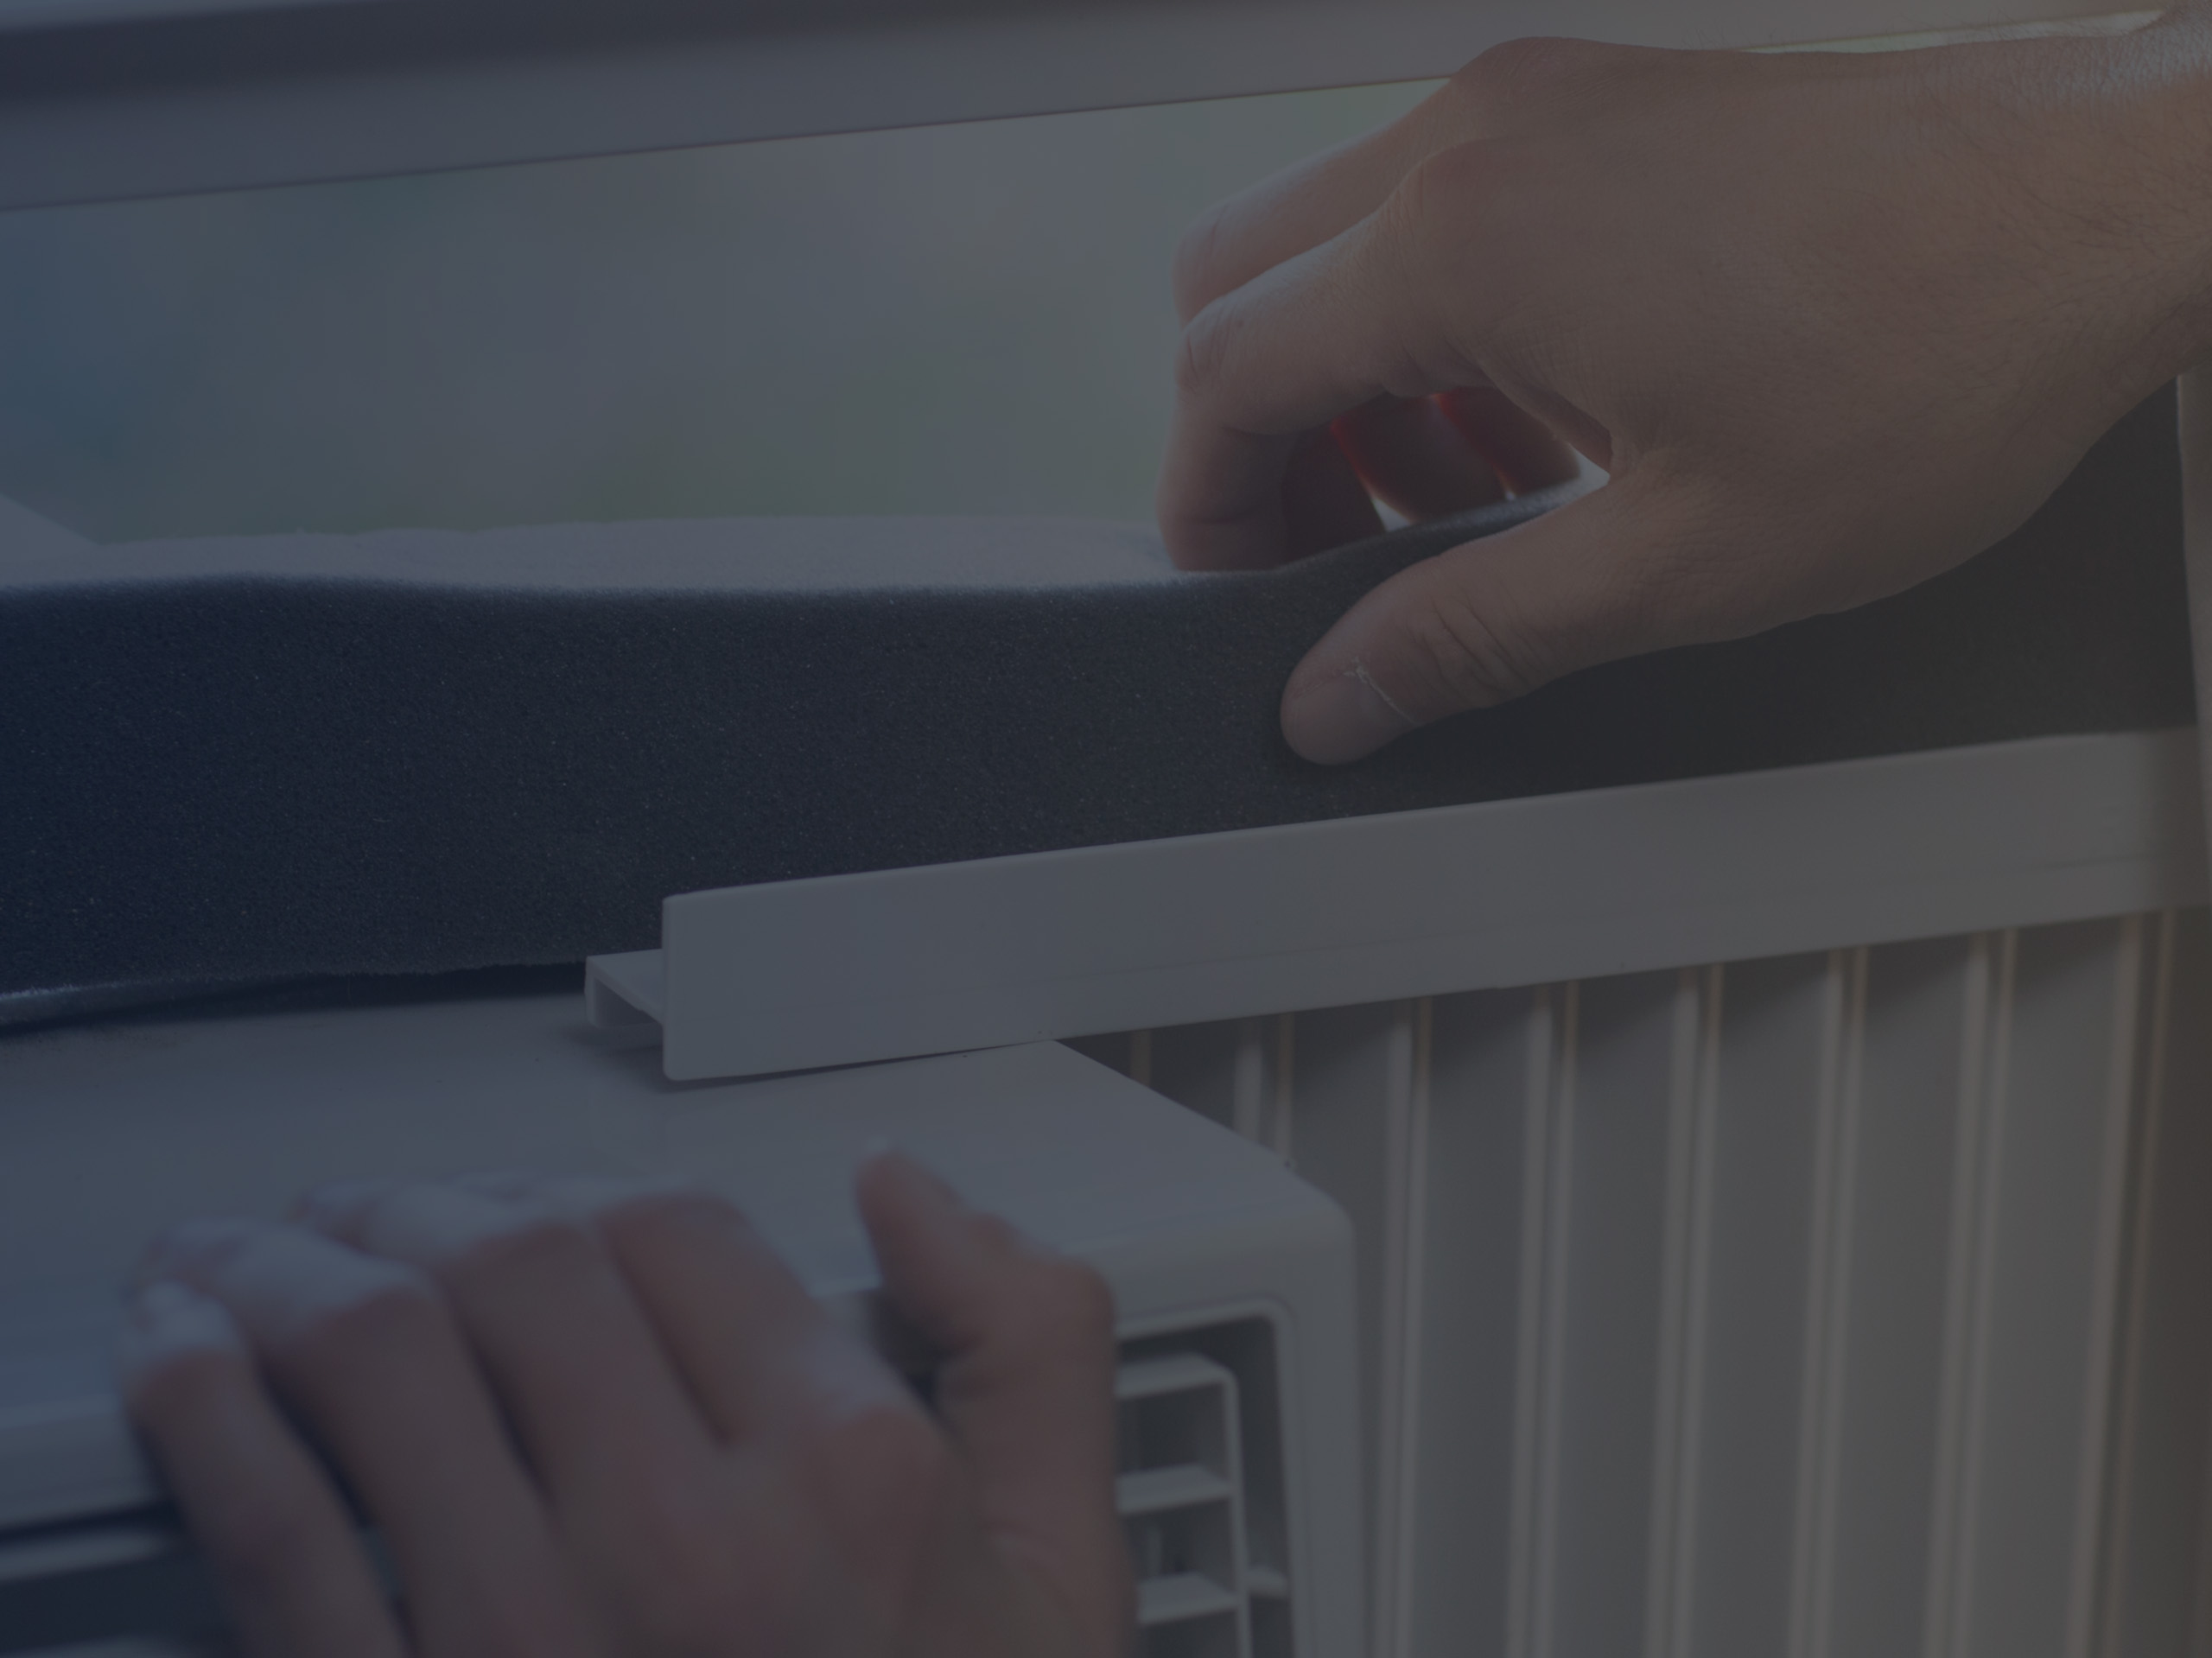
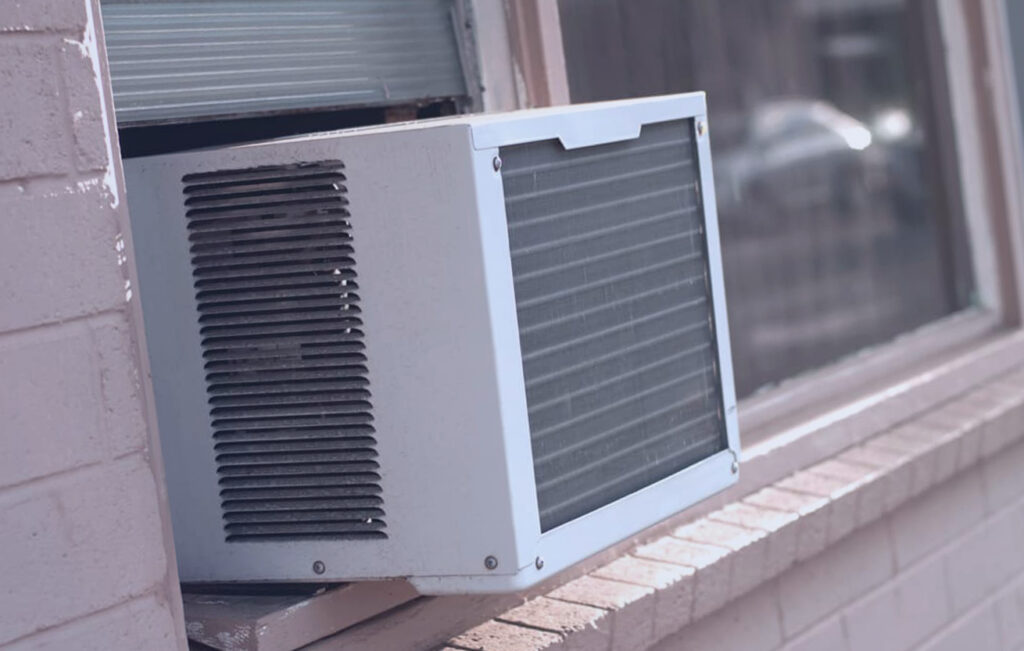
Setting Up Insulating Seal for Window Air Conditioner
DIY’ers Definitive Guide to Install a Window AC
- Take the AC out of the box: Be cautious when you do this to not get hurt in the process. Check carefully to make sure that all the pieces are in the box, as well as everything that you need and should be included in the setup procedure.
- Locate the middle: Utilize a tape measure to find the center of the window’s width. This makes it easier to fit the AC so that the side panels are at an equal distance from the window margins.
- Prep the window: In case a weather strip was included, this is the moment to install it. The role it plays is to block air passing through the cracks. It also serves as protection for the window when you install or take out the cooling unit.
- Turn to the panels: Slide them in their respective places all the way, and use the screws in the package to secure them. Connect all the screws well to avoid gaps that can let the warmth come inside, or even allow allergens and other pollutants to enter via air.
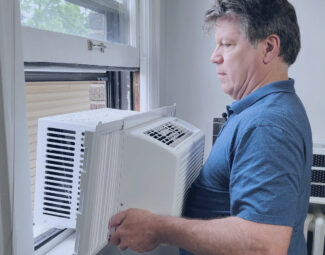
- Insert it into place: Pick the unit up and center it in the window. Close the window tightly on top of it. In most cases, there is a special spot on the unit where the window will slide into place when you close it.
- Securing with L brackets: If L brackets are included, screw them to the top of the opened window. What the brackets do is prevent the window from being pushed up. If they are missing, buy them separately as they play an important role in assembly safety.
- Attaching the panels: If you are provided padding window sides, add it now. If it was not included, you simply have to lengthen the side panels until they reach the window frame, attach them with the included screws, and everything is sealed into place.
- Secure it: If the package contains screws and brackets to connect the unit to the window sill on the interior, install them now. These extra security measures come in handy, so if they are included, use them. It’s like they say, better safe than sorry.
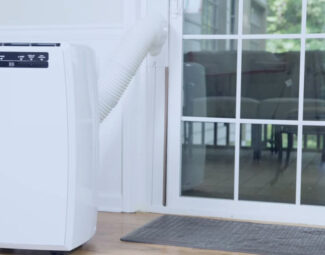
Can You Put an AC in a Casement Window?
Yes, there are casement window air conditioners that are specially intended for this setup, their vertical structure accommodating it. Installation differs in the sense that there are a few extra steps you must take.
First, make a wooden support foundation for the AC that you install on the window sill to prevent all of the weight of the system from falling on the border of the frame, which is not architecturally supportive. The height of the support foundation should be as tall as the height of the base track of the window. When it comes to its width, it should be 2 inches longer than the AC’s width.
Install the support base on the window sill, and then set up the platform assemblage included in the package of the AC on top of the aforementioned base. Identify the central spot of the window opening, and drive a screw in the afferent point of the platform assemblage, plummeting it into the support base as tight as you can.
Now, you have to go outside to put the platform assembly together as instructed in the accompanying manual. If you have a sturdy base, run a screw into the siding. If not, secure a support board with plywood first, and then you can proceed to drive the screw.
Go back inside and open the window to the width of the system, to which you add another 5”. Lift the AC carefully and push it through the opening onto the stand assembly. Close the sash against the lateral of the cooling unit, and you are done.
Recommendation: As the metal bracket that pushes on the sash is the portion that holds the cooling system in place, make sure that it is located behind the bracket for the created assembly to be secure.
Your Questions Answered
Question #1: Will my AC fall out of the window?
Answer: If correctly installed and if you secured it properly, this risk does not exist. However, in case it is not secured in place or any of the installation steps have not been properly followed, this occurrence could take place. What you must do to prevent it is to secure the included accordion inserts, as well as make sure that the window stays closed.
Question #2: Can you leave it on 24/7?
Answer: Yes, you can leave it on non-stop if you so desire as it will not suffer any damage because of this. However, there are downsides to this continuous operation, the most prominent including a substantial rise in your electric bill, and less dehumidification efficiency on the system’s part.
Question #3: Should it drip water?
Answer: Yes, it is quite normal for this to happen. Some of the condensed water that forms inside it is used to cool the interior heating coils, but the majority drips outside.
Question #4: Will rain damage a window air conditioner?
Answer: No, rain will not damage the unit. However, standing water can, so if there is more than 15” of water, the electrical components and moving parts within the system may be unable to run. In case this situation arises, turn the AC off, unplug it, wait for the water to recede, and call a professional to check it before you start using it again.
Question #5: How do I get water out of my window AC?
Answer: Turn it off, unplug it, take it out of the window, and continue to empty the pull-out pan that catches the interior-forming condensation. Afterward, locate the rubber plug and pull it to empty the unit of any water collected inside.
Bottom Line
The detailed installation guide we formerly provided is more than sufficient to help you out even if you are a first-timer at this job. You do not even need advanced skills, just a little patience, attention to detail, and ambition to pride yourself on a job well done at the end of the day when you finally get to plug in the unit and cool off.
Expert installation is costly, keep this in mind, so if you are the DIY type, it is not worth wasting cash on a task you could easily perform on your own. To wrap it up, just see to it that you follow the phases and advice provided here religiously, and in less than a day you have already set up the AC!


