E ven if the attic remains a low trafficked area of the house, what happens in there can reflect on the overall home comfort and show up in the energy bill. Consider that the attic is the first room under the roof, so every change in the weather will first reflect there. If the roof needs repairs, the attic will be the first to get wet when it rains. At the same time, the sun heating the roof will make the temperature in the attic rise to values that can reach even 150 degrees Fahrenheit.
This is why proper venting is essential. If heat builds up in the attic, the whole house will feel the pressure reflecting in higher temperatures. The cooling system will need to work harder, and the fans may not manage to bring a comfortable breeze even at night.
While it can suffice to make sure your home can breathe, you can help it even more and reduce your energy costs at the same time. By installing a fan in your attic, you can speed up the ventilation process and make sure that fresh air is always circulating through the upper side of your home. Thus, the overall temperature will remain lower, and you will enjoy more comfortable summer days.
If you’ve decided to add an attic fan this summer, check out how you need to prepare and what are the steps for quick and safe installation.
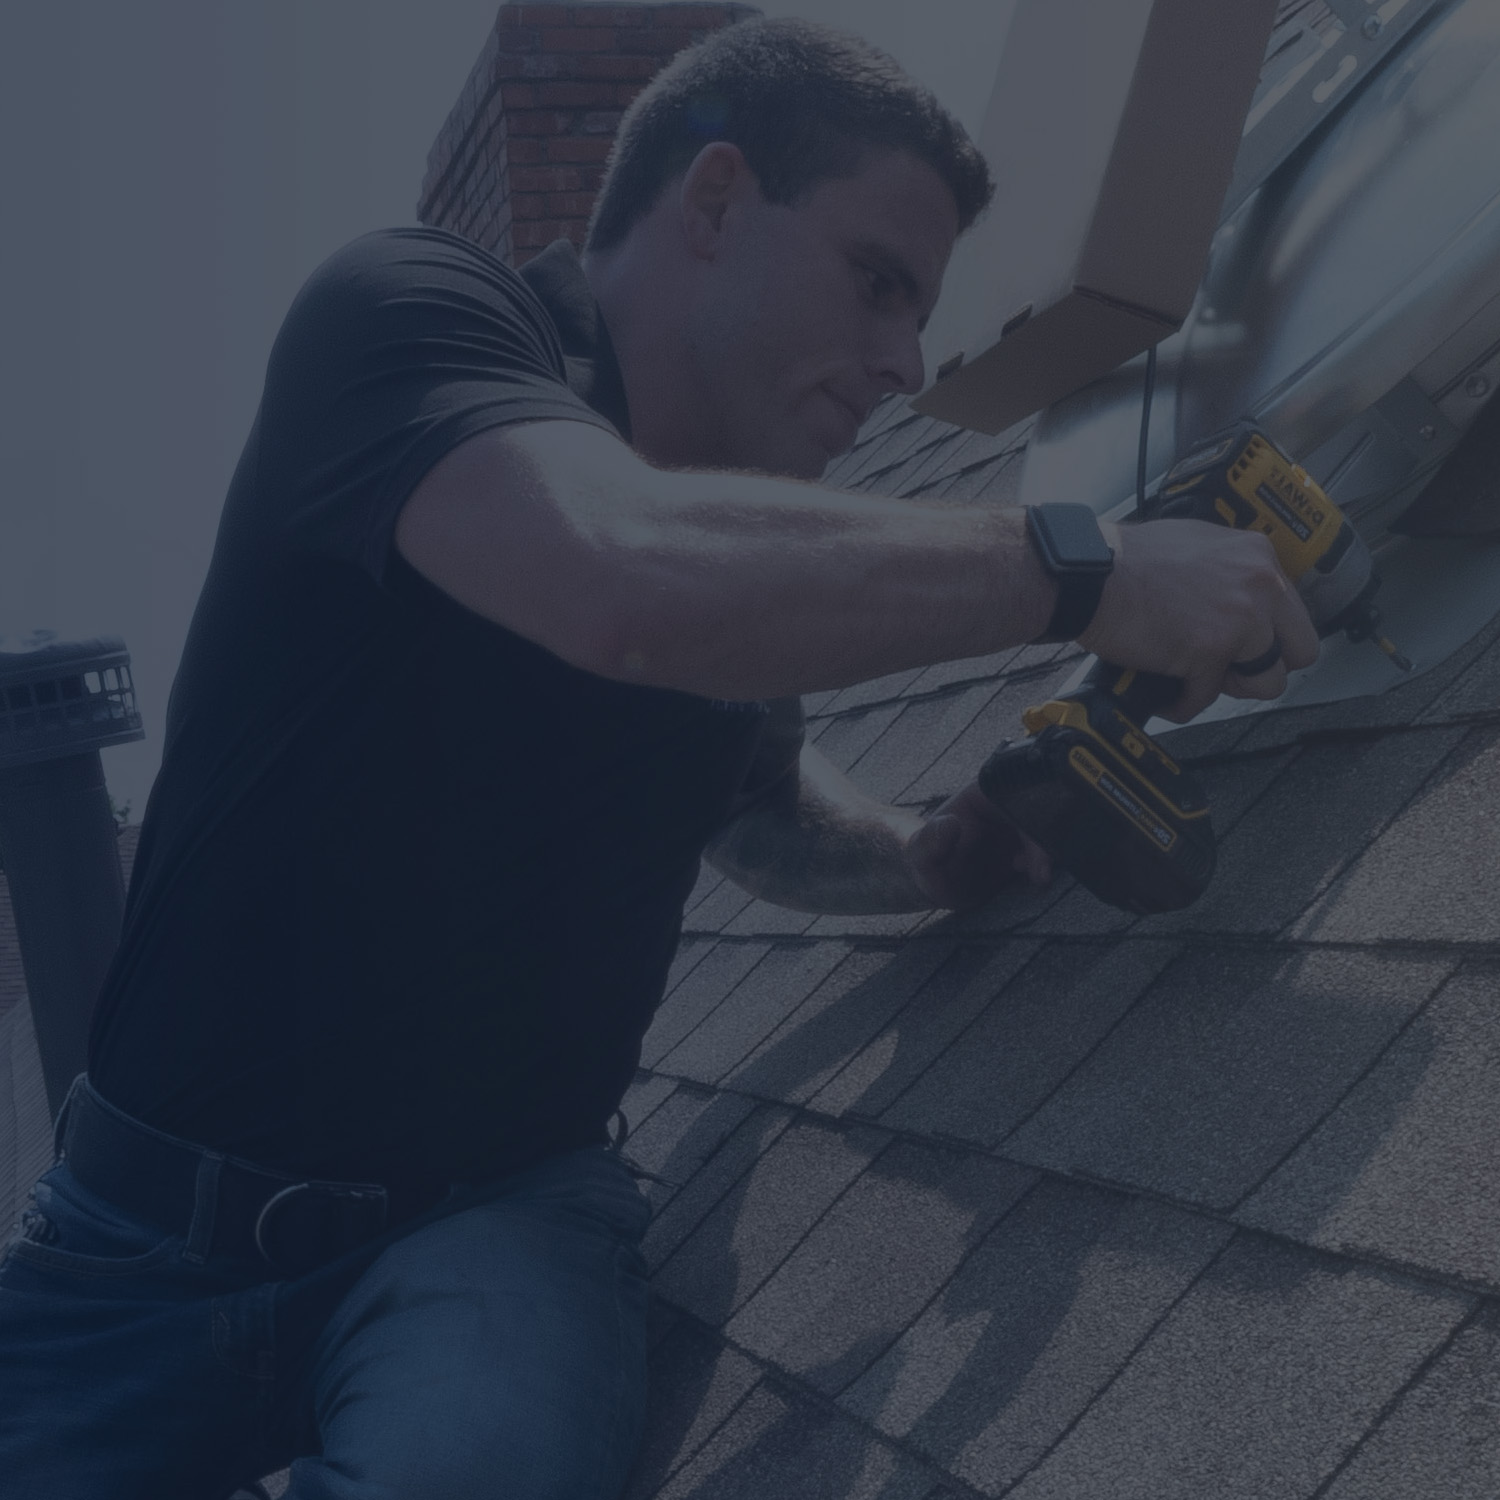
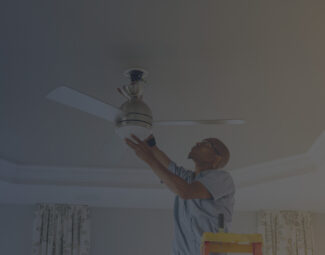
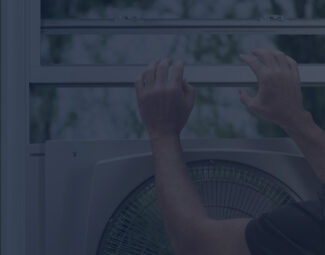
Man Installing the Exterior Side of an Attic Fan
Before going to the store to get the fan, make sure that everything is ready for the installation process. Vents may vary depending on the structure and design of the house, with some being larger than others. The bigger the vents, the better, but this isn’t always the case. Nevertheless, the rule is that for an attic to be well vented, it should be allocated 1 square foot of vent for every 300 square feet, so make sure this is the case with your space. Otherwise, you may want to do some remodeling or even call for a specialist that can solve the venting problem.
Next, you will need to check that each vent that is installed on the higher side of the roof has a counterpart on the lower part of the roof. Thus, when the air is evicted through the higher side, it will pull in cooler air through the soffit vents.
Last but not least, check that the soffit vents aren’t clogged with debris. If the nets or filters are blocked, ventilation is reduced and this will show in your new fan’s efficiency.
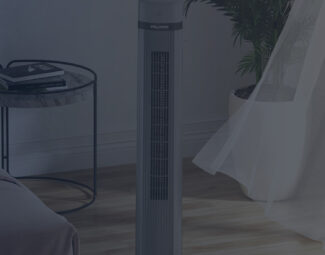
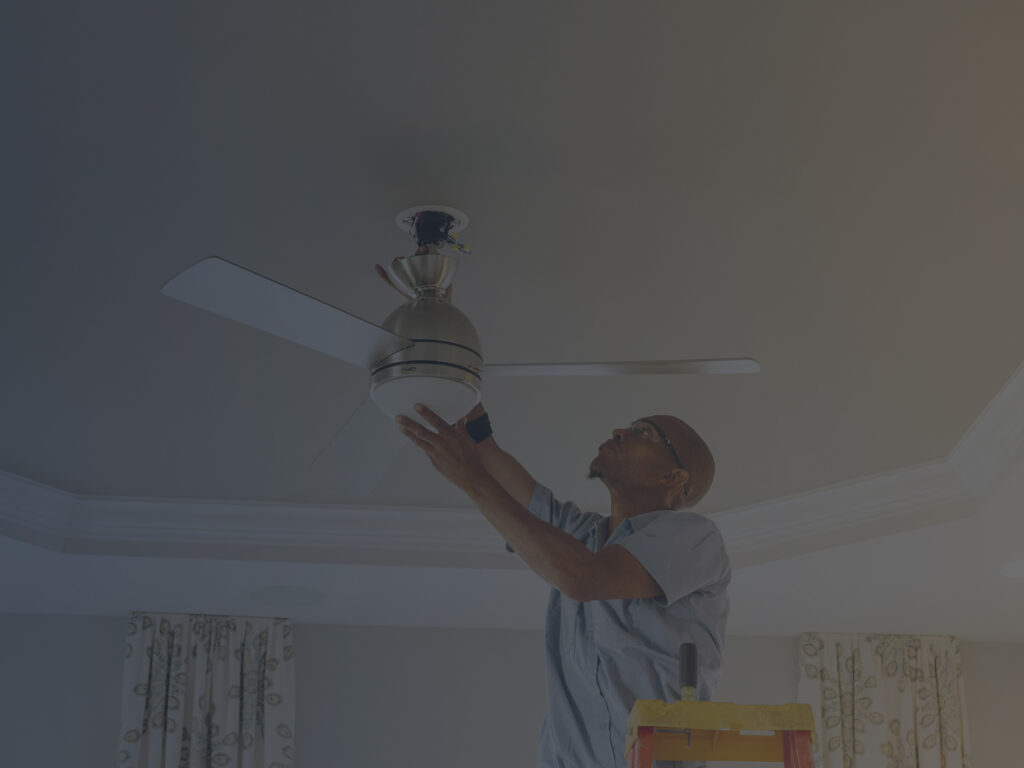
The attic isn’t the only space in your home that needs venting. Check out our best bedroom ceiling fans, and pick one with excellent airflow to keep your summer evenings pleasant and cool.
Pick the right type of attic fan for your setup:
We should be clear from the start that there are two types of attic fans, and, although they have similar effects, the installation will vary depending on the model you pick:
#1. Roof fans
These models are powered by conventional or solar energy, so you can find among them the most energy-effective air-circulating units the market has to offer. Nevertheless, solar fans are less powerful than electrical models and highly dependent on the sun. Consider that even if it is cloudy, the temperatures in the summer can still remain high, but your fan will need the take a break at this time. But on most days it will work, and, what’s really important, it will work when it is most needed.
However, if you decide on a roof model, it is good to know that the installation isn’t easy. First, it requires climbing on the roof, which can be dangerous. And, secondly, you should have some carpentry skills to pull off a more complicated installation. Otherwise, if the hole in the roof isn’t completely sealed, you may experience leaks when autumn comes.
Check out our assortment of solar attic fans and choose a roof model that can make your days more comfortable while taking absolutely no money out of your pocket.
#2. Gable fans
This is the type to go with if you are looking for a straightforward installation. A gable fan will fit into an existing gable vent, so the tasks you need to perform to secure it in place are minimal. It uses electrical energy to run, but the power consumption rate is surprisingly low, somewhere around 50 watts. Plus, it doesn’t require professional installation, so you save on costs in this specific department.
How to Install a Roof Attic Fan
If you are replacing an old roof fan, then make sure that the opening fits the size of your new unit. If it is too small, proceed to cut around it until you get the right size.
If this is the first time installing an attic fan on the roof, you must cut the hole yourself. Note that the hole should be made near the highest point of the roof for the fan to be effective.
As explained, a specialist can handle this task better and faster with no safety risks. But if you feel in shape and have the necessary skills to go on with the job, here is how to do it, step by step:
- Start your measurements from the ridge and go down on the roof 20 inches. Here, identify the center between two joists and mark it. You can use a nail to make it easier to follow when you cut the hole.
- Draw a circle around the nail marking the center according to the size of your unit’s flashing. A pattern will be included with the fan. The circle you will draw should be wider than the circle you will actually cut. Then use a utility knife to cut the circle in the shingles. Remove the shingles inside the circle and some of the pieces around the hole, but keep the last ones as you will need to place them back when the job is done.
- It’s time to cut the real hole. Using a jigsaw, follow the circle you’ve drew and cut on the inside of the circle but close to the margins.
WARNING! Cut only between the joists. If you cut your joists, you can fall through the roof. Plus, you will wreck your roof’s structure, and the repairs can provide pretty costly.
- Match the vent to the hole and secure it with roofing cement. Spread it around the edges of the circle and make sure no openings are left. Secure the unit with screws.
- Use caulk to seal the flashings. Proceed with care and patience. If this task isn’t performed properly, it can cause leaks in the cold season. Place the shingles around the fan, and the roof job is ready.
- Wire the fan. If it is a solar model, you can skip this step. If it requires electricity, you will need to connect it to a power source. First, make sure to stop the power to the circuit. Then use an electrical cable to link the thermostat to the existing circuit, making sure that the white circuit wire goes to the white fixture lead and that the black wire goes to the black lead.
- Use staples to prevent the cable from hanging loose into the attic.
- Set the thermostat at 105 degrees Fahrenheit and test your newly-installed unit.
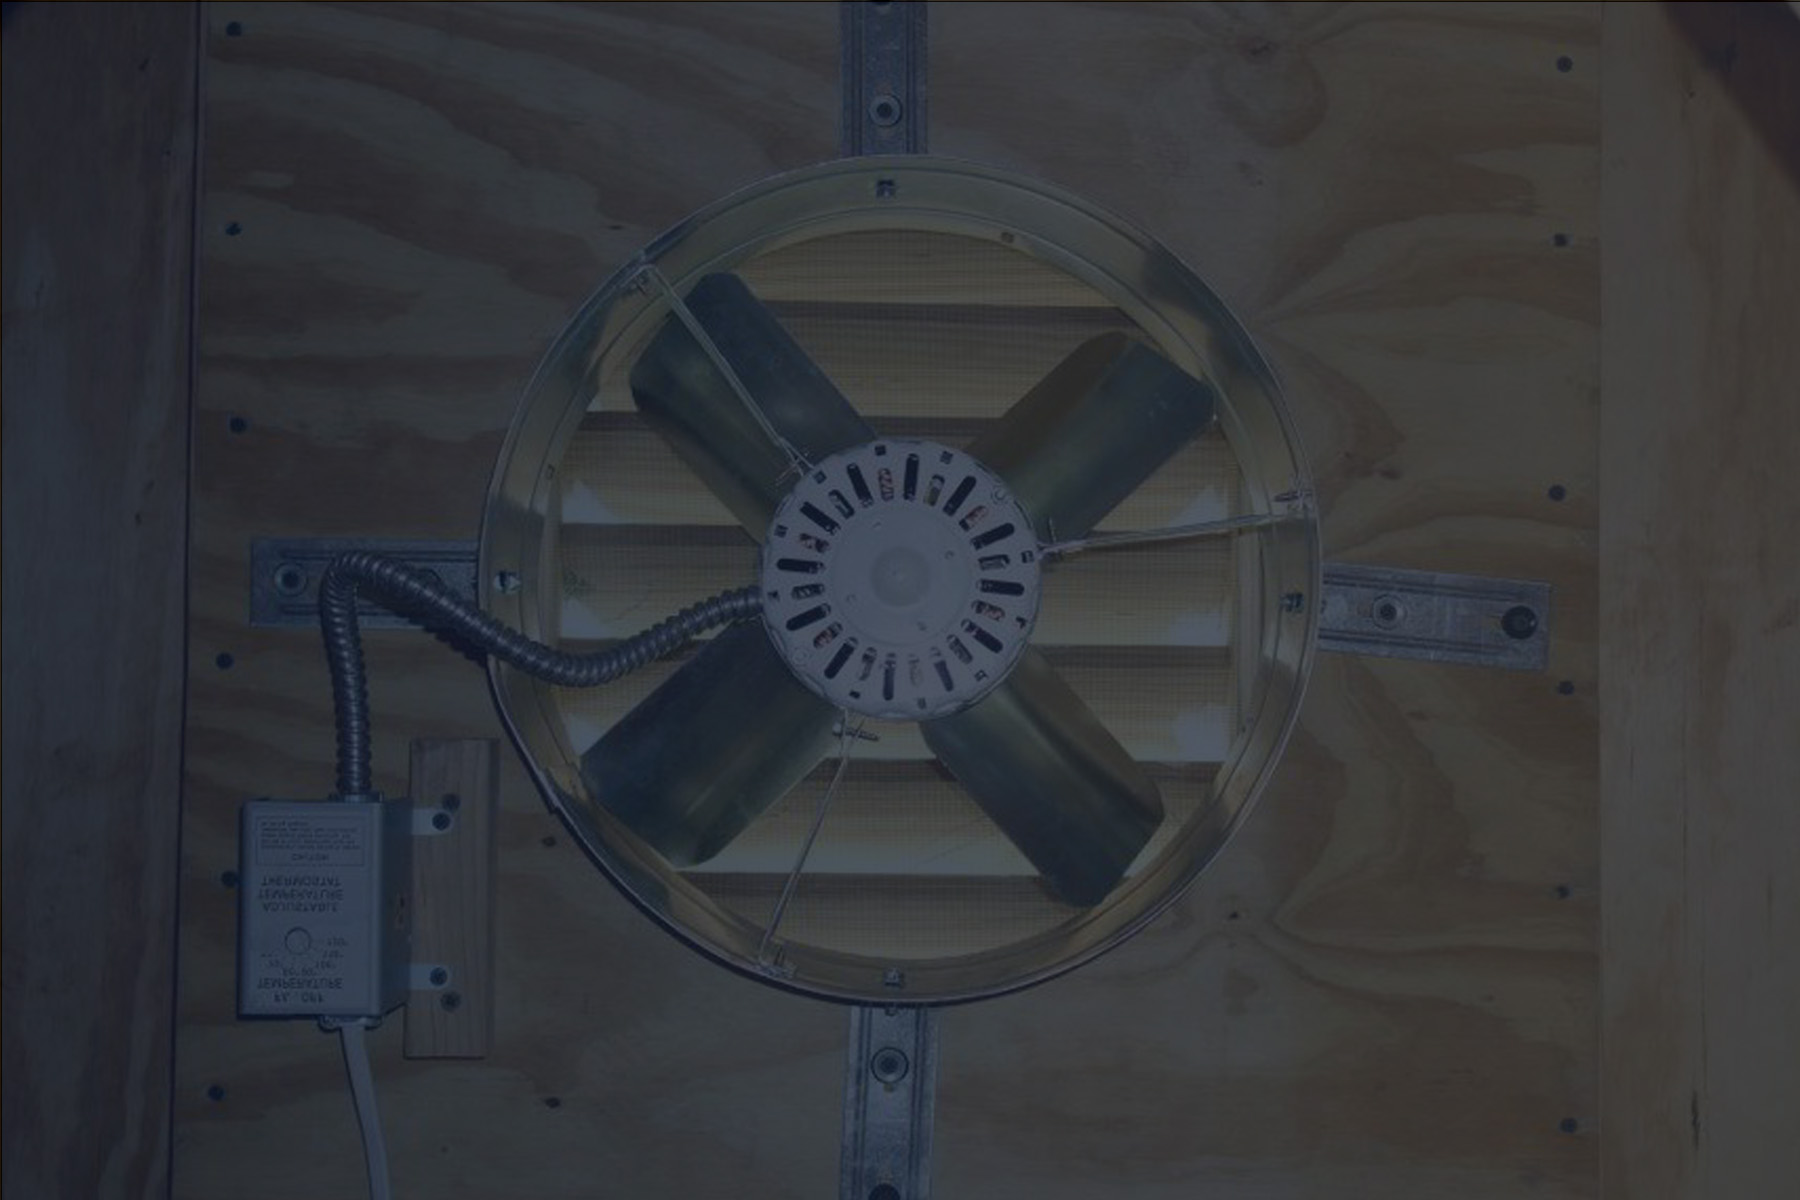
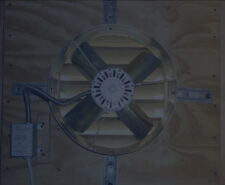
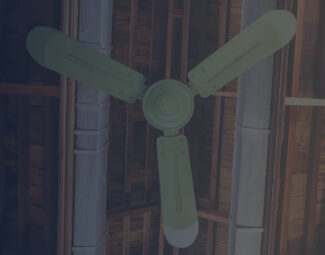
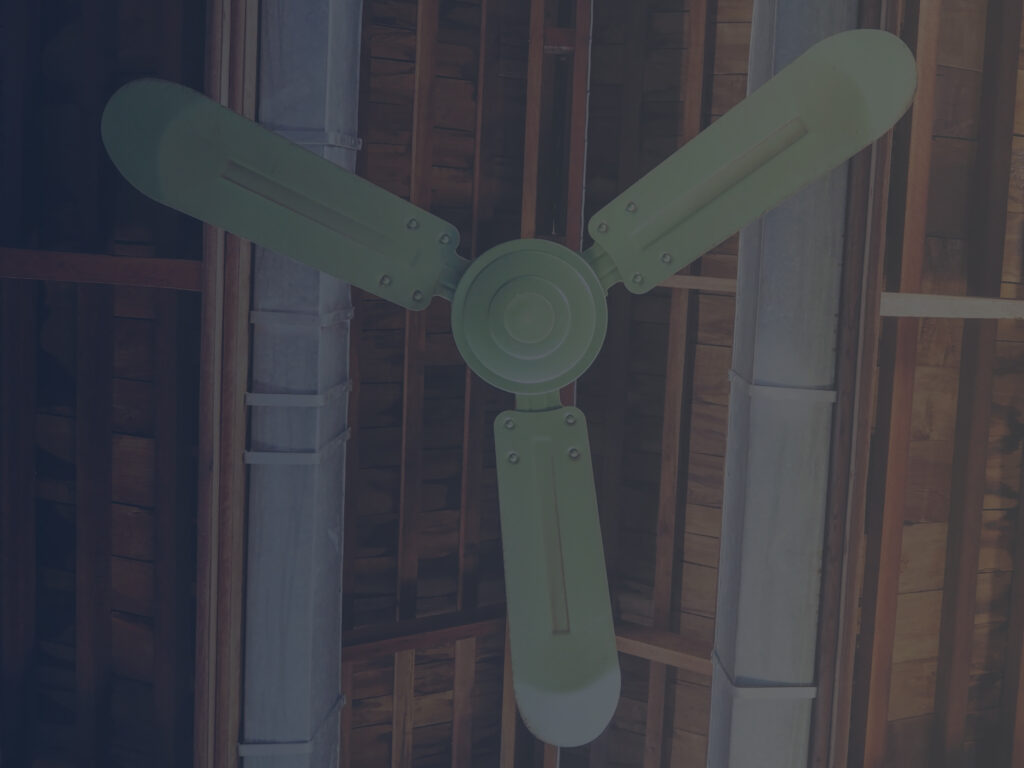
Close-up of an Attic Fan
How to Install a Gable Attic Fan
If the previous installation steps made you doubt your carpentry skills, then it is a good thing that this second fan model will require none, assuming that the gable vent is already in place. If it isn’t, you will need to use a saber saw, but at least you won’t need to climb on the roof.
Here are the steps:
- Cut the opening. If it exists but it is too small, remove the old shutter and use the new one to mark the edges of the new opening. Remove framing and other possible obstructions and use a saber saw to cut the opening.
- Set the new shutter in place and secure it with screws. Seal around it with caulk.
- Pick a plywood panel and adjust it to fit the margins of the shutter. On this panel, you will mount your unit before setting it up on the ceiling.
- Use the cutout that came with the fan to cut a hole at the center of the panel. Remember: first, draw and then cut.
- Mount the fan into the plywood and screw the mounting bracket. This ensemble goes behind the shutter, where you need to secure it with nails.
- Follow the instructions provided for roof fan mounting and wire the unit the same way.
Roof vs. Gable – What We Recommend
Unless you are buying an attic fan for its ability to use solar energy, it is better to stick to a gable model. The performances are similar and the energy consumption isn’t that noticeable. Plus, if you already have the gable vent, things couldn’t go simpler. Even if you need to cut one, it is still safer for you, as you won’t need to climb to the roof.
On the other hand, zero energy costs are better than low energy costs, so if you have the guts to climb on the roof and the skills to cut a hole there while maintaining your balance, then this could be a wise investment. Even if you decide to let a specialist take care of this job for you, the initial expense will be soon recovered through the lack of electricity costs.
In the end, it could be a matter of taste. Some people think that roof fans tend to interact with the architecture of the house and ruin it. And this is especially true when the building is old and has some historic value. But others love them, as they reflect the modernity of their homes. Which type are you?
The Bottom Line
Getting an attic fan installed is a pretty serious job, so, first, make sure you are prepared for it. If you feel you may need some help, call a friend with better practical skills. Or allow a professional to do quality work that will last you for as long as the fan works. What’s important is that you now know the essentials and can decide which unit would work better for your house. You can use the info here to do a little inspection of the venting system and make sure everything is all right. Last but not least, you have understood the importance of installing a unit of this kind and the way it functions, so now you can compare it with other air circulation alternatives.


