
B efore you head to your new RV adventure, a thorough check-up of the recreational vehicle is essential to make sure that it is still in good shape and can provide you the best comfort during the trip. In this case, one thing that you will truly want to take a look at is the air conditioner. Imagine it could break while you are on the road. All the fun will be compromised as the heat would just build up inside, making the air unbreathable.
If you’ve decided your AC is not up for another ride, a DIY installation is possible, as long as you have some basic wiring skills and the willingness to put up with a bit of work. In this article, we will explain step by step what you need to do, so stay with us and find out how to install a new AC unit on your RV the safe way.

RV Camper with Roof AC in the Desert
How Does an RV Air Conditioner Work?
Just like homes, RVs need a bit of effort to become comfortable. They need heating if you are going to travel during the winter and they need to be kept dry when not in use. Air purification may be required if you travel through highly polluted areas or the dusty desert, and last but not least, a good air conditioner has become an indispensable addition to any vehicle today, so you wouldn’t see yourself traveling without one.
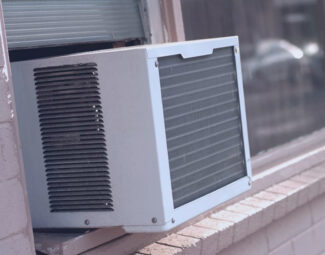
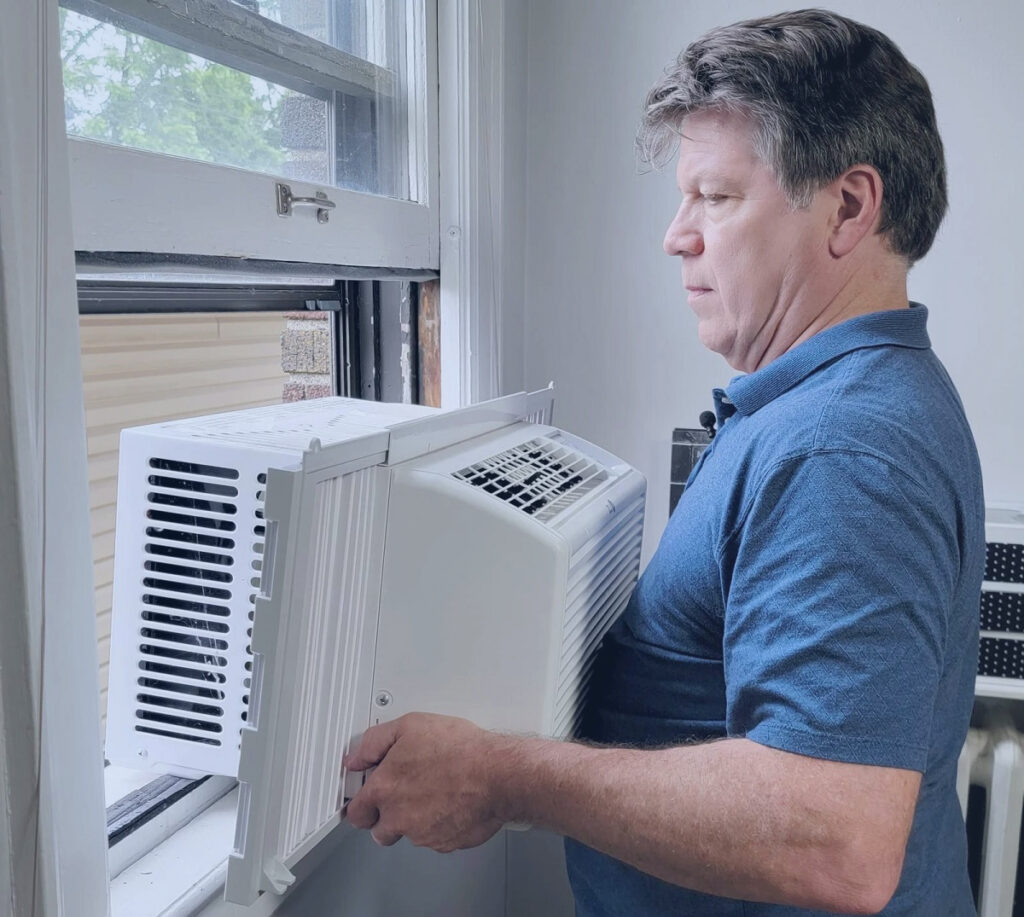
An RV air cooler includes two parts: the exterior unit, which contains the most components, and the interior or ceiling unit, which serves as an interface and contains buttons and knobs, depending on the model, necessary for speed or temperature control.
To put it simply, the air-cooling process implies the presence of a compressor, a condenser, an evaporator, a refrigerant, and fans, and goes as follows:
- The compressor pressurizes refrigerant vapors inside, forcing them to give off heat in the condenser
- The condenser cools down the vapors and turns them back into liquid. At this stage, the heat is taken out of the air inside the RV, cooling it down
- The liquid goes to the evaporator. Here, the hot air hits the cool coils and loses heat
- The vents blow the cool air back
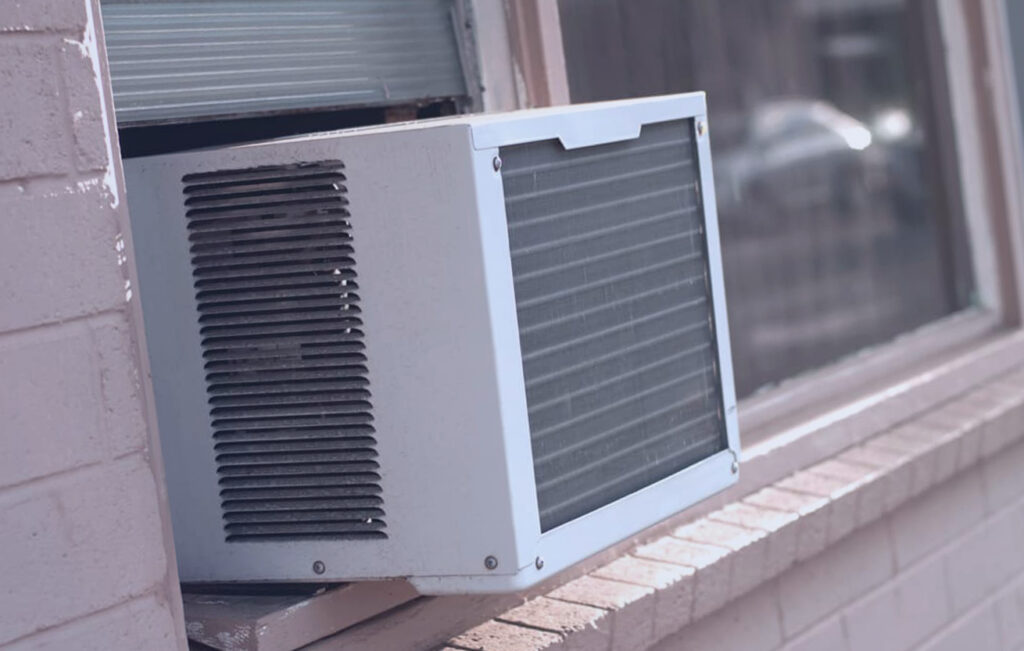
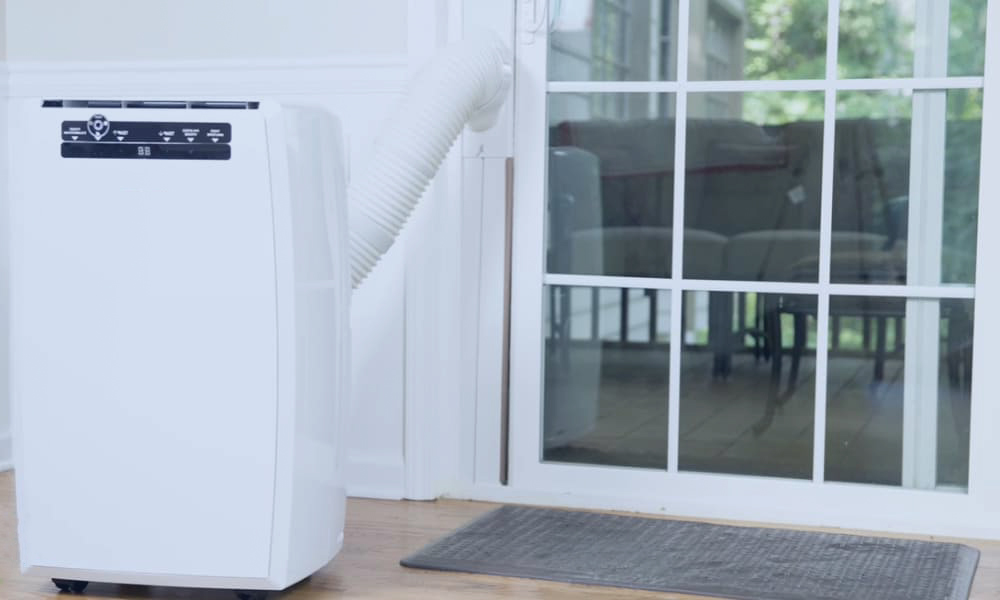
If your RV didn’t come with an AC unit, you will have to cut the hole yourself, but it is good to know that other air cooling options are available. Check out the top-rated portable air conditioners, if you are not willing to put up with the installation process of a roof AC unit.
When Should You Replace Your AC Unit?
The answer is simple here. Although these units will last you for a good amount of time, there comes a day when repairing your AC just costs more than replacing it. The pieces will eventually fail one by one. If the compressor is your problem, and it costs more than half the price of a new unit, then it is time to let the old one go.
New models are more powerful and energy-effective, although it is worth mentioning that an AC will need a lot of power to work. Apart from that, if you have decided to remodel your vehicle, the old ceiling unit may not go with the fresh, modern look of the interior anymore.
How to Install a New AC Step by Step
If you have purchased the new unit and the sun is up and shining, casting away all the clouds that could get in your way and turn this DIY installation into a disaster, then you are just three steps away from getting your RV cool and cozy. Here is what you need to check before getting down to business:
- You have someone who can help you with the installation - The exterior unit is pretty heavy, and you will need first to get the old one down and then get the new one up, so, a second pair of hands will prove extremely useful. A pulley system will help you a lot as well.
- Read the instructions that come with the new unit - Although all these units work on the same principle, each model has its own particularities, so you shouldn’t neglect reading the owner’s manual
- Disconnect the RV from the power source - You will deal with wires so you will want the power to be cut off so you don’t get electrocuted
Take a look at our selections for RV air conditioners and pick the best model. Find a price for your pocket and turn your recreational vehicle into a proper home.
Step 1 – Prepare the Roof for Installation
One thing that should be taken into consideration is that the roof may not hold your weight. You wouldn’t want it to bend when you climb the vehicle to remove the old AC, so it is indicated to arrange some wood planks on the roof, so your weight gets evenly distributed and the pressure of the roof is reduced. At the same time, you will want to use some blankets or rags to cover the surface around the AC. Thus, you will prevent scratches that can easily appear when dealing with heavy items.
Step 2 – Remove the Old AC
The shroud is usually bolted to the roof with four screws, so you will need to use a wrench or a screwdriver to remove them. Once this is done, the shroud should come off pretty easily. At the same time, the flange will drop down. Nevertheless, keep in mind that a wire will keep the unit still connected to the RV, so make sure you disconnect it before removing the upper part. A putty knife will be of real help when you start pulling it up, as you can use it to scrap the adhesive and loosen up the grip on the roof.
Once you have detached the old unit, scrape all the old adhesive and putty so the new one can be applied to the current unit. If this step isn’t performed properly, you may deal with leaks in the future.
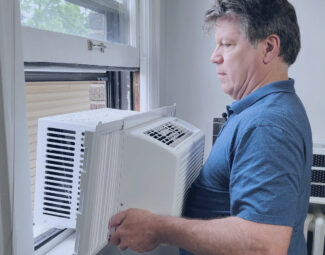
Step 3 – Get the New Unit up on the Roof
This is probably the hardest stage of the process, as you will need to lift an item weighing somewhere between 70 and 100 pounds. One way to do it implies the help of a friend, who could help you by lifting the unit while you sit on the roof and receive it. This method is pretty hard, and we must admit, it is more for users who can handle the pressure of such a job.
Another way to lift it is by using a tractor with a fork or a forklift. This is actually the safest method and requires less power, but the equipment is not always available.
A third method would imply the use of a pulley system formed of a rope and extension ladder. Thus, you can go on the ladder with the unit while your friend can help you lift it by pulling on the rope. A third friend could help you by pushing the unit from below. In this case, it is recommended to keep the AC in its box, as it is safer to maneuver.
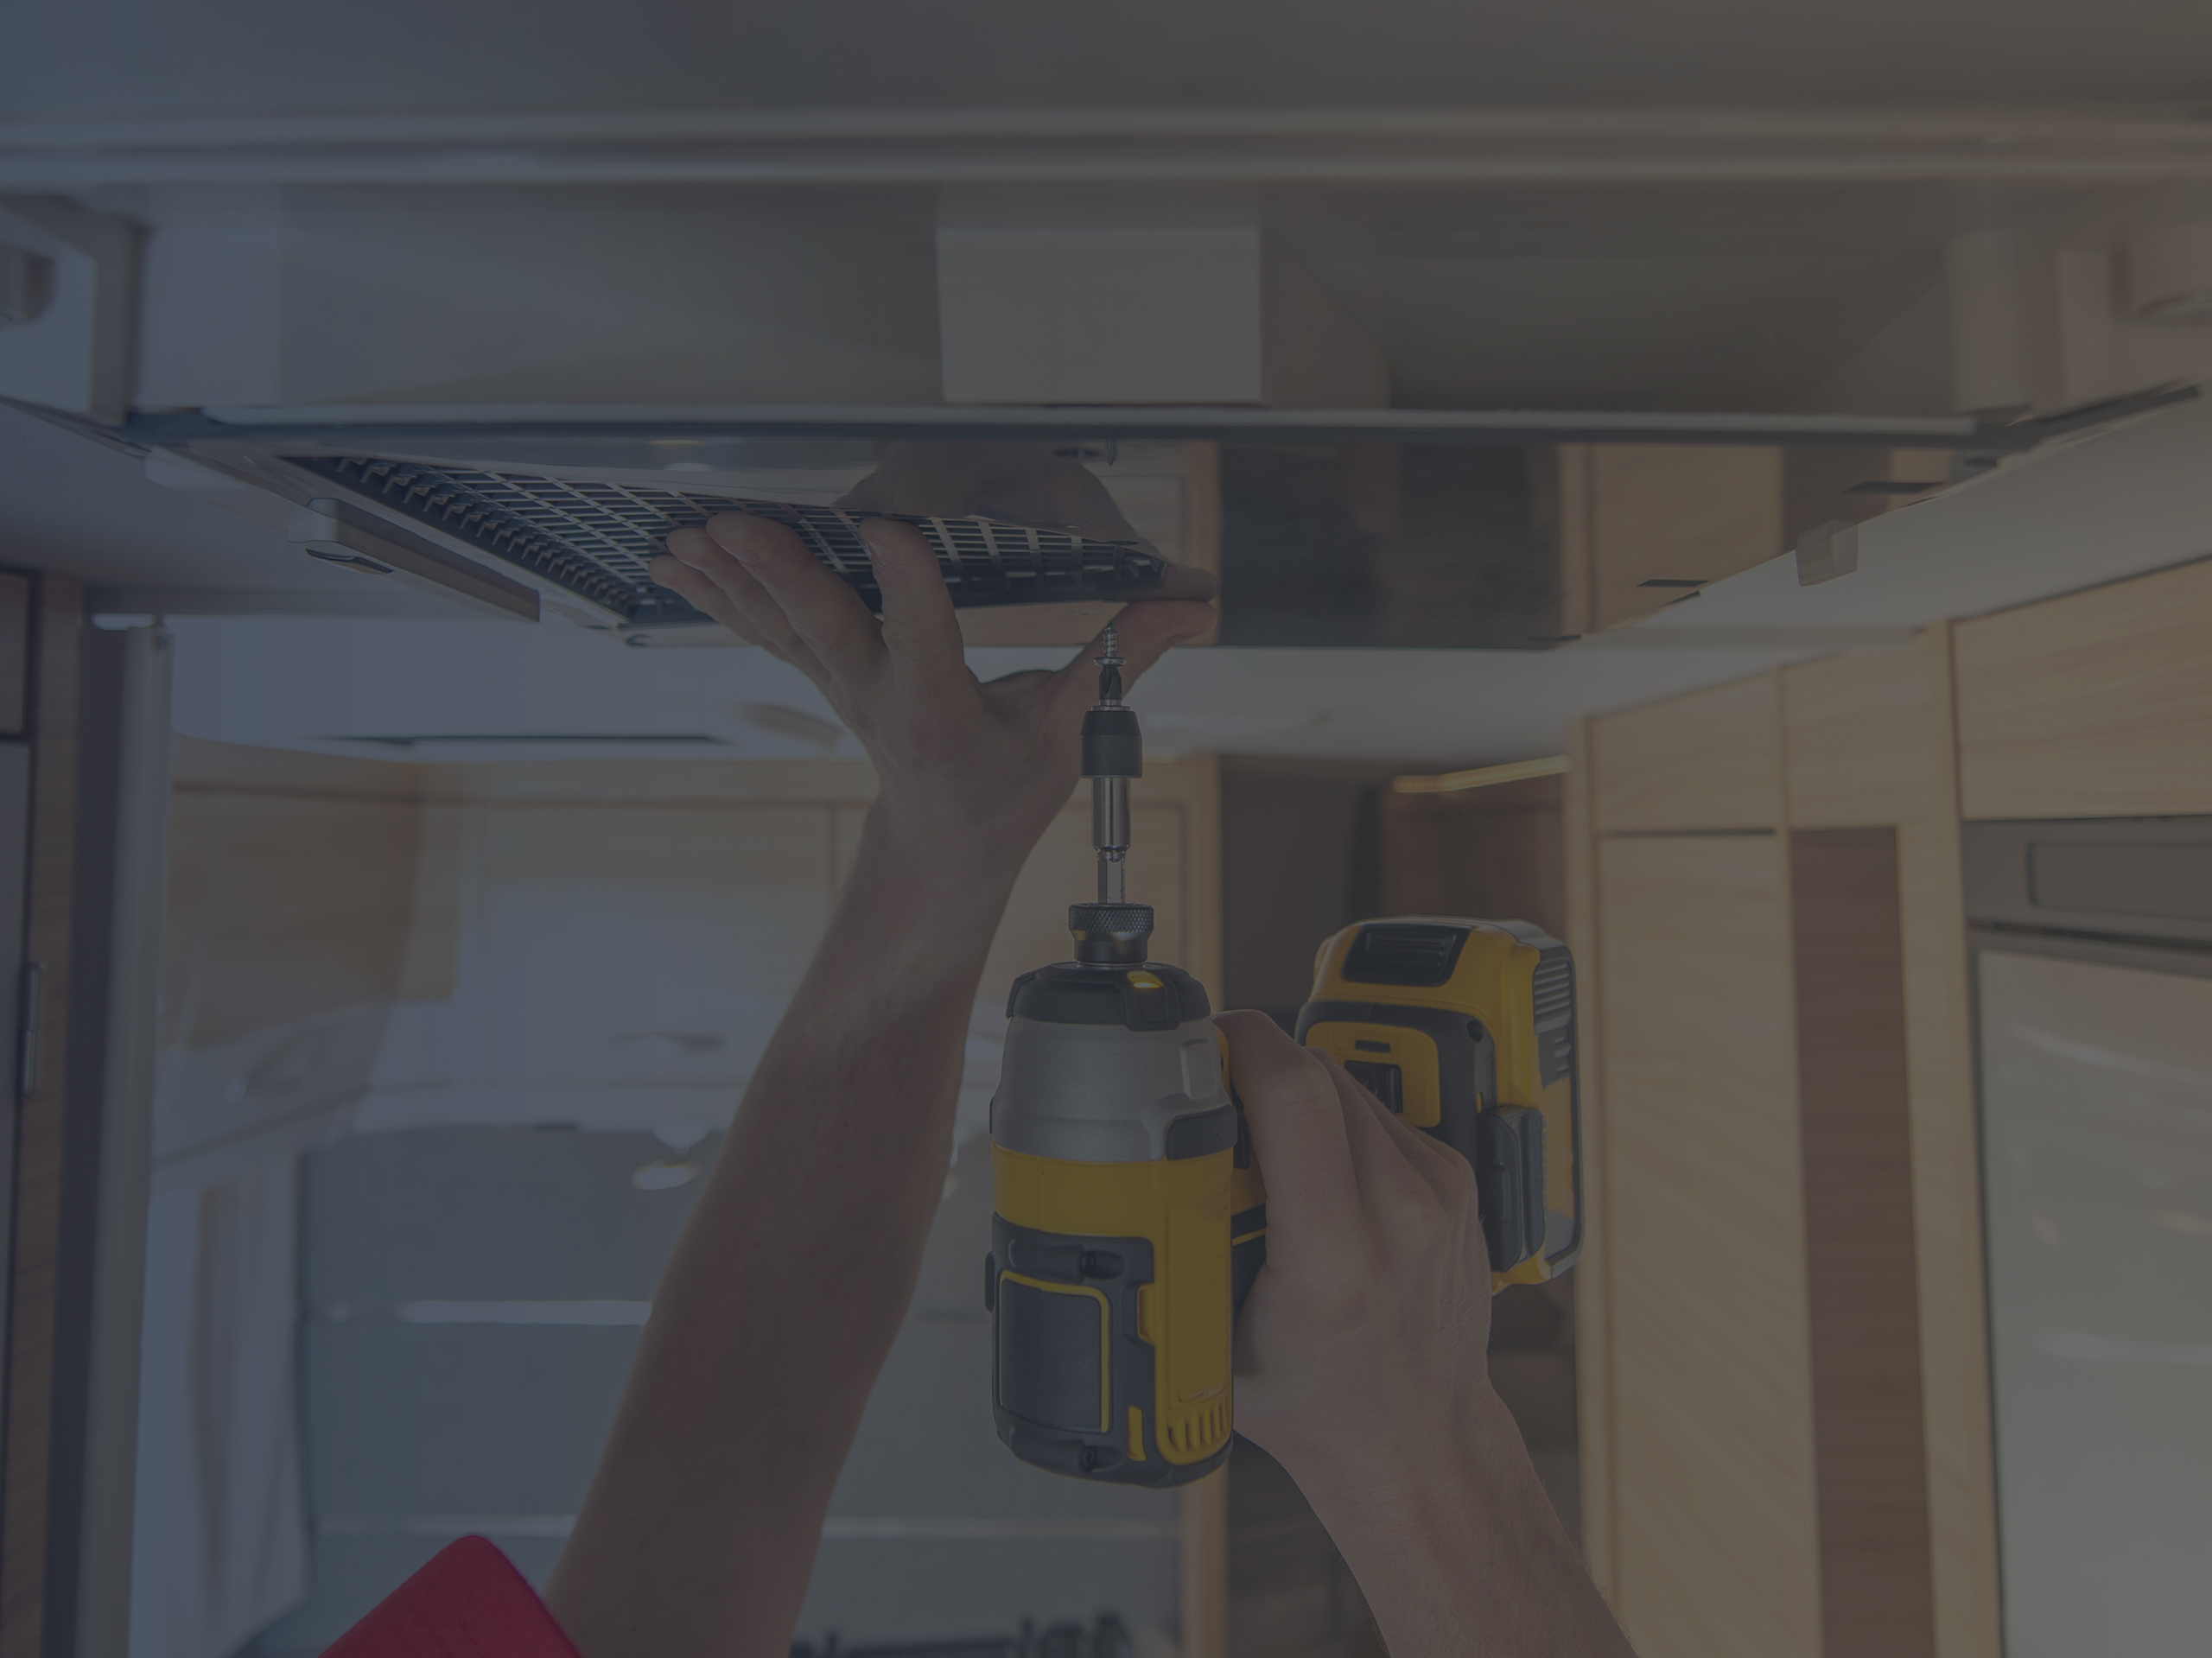
RV Technician Installing Air Conditioner
Step 4 – Install the New AC
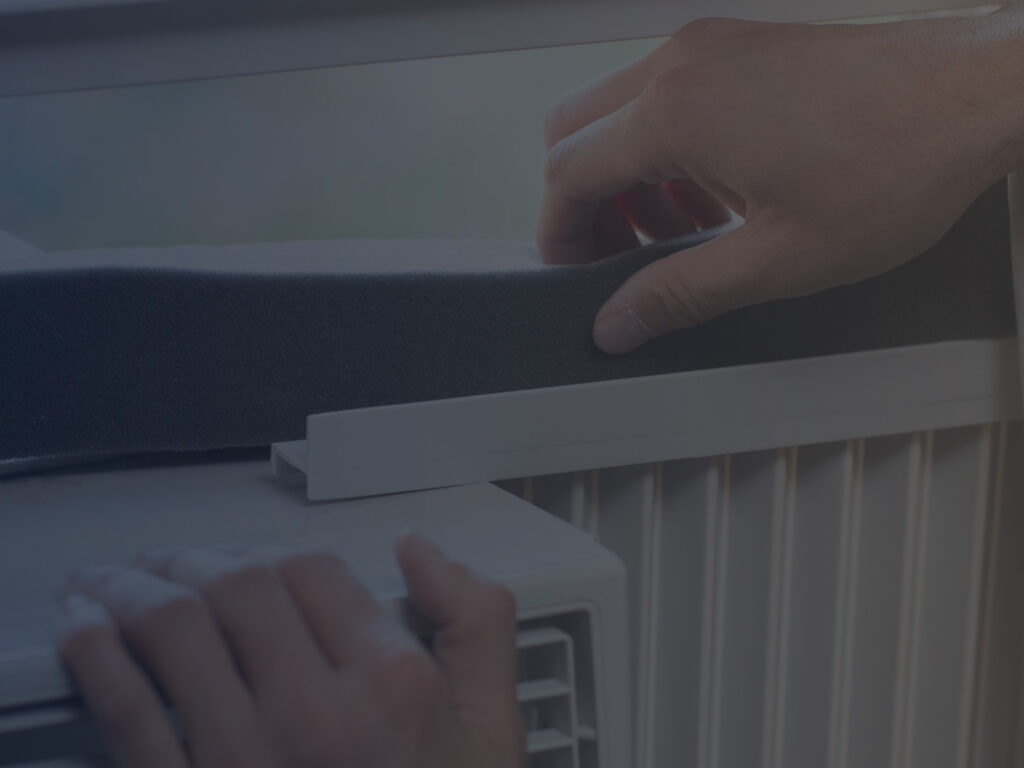
Place the exterior part above the duct hole. In most cases, a hole of 14 ½ x 14 ½ is required, but if your opening is smaller you will need to adjust it. Align the gasket with the hole. Inside the RV, fit the metal frame against the ceiling and screw the 4 long bolts.
Step 5 – Wire the AC
The ceiling assembly junction box is the place where you need to connect the wires. The good news is that they are color-coded, so you will easily figure out which goes where. You should find in the box some wire nuts as well to help you connect the wires. Once you’ve got everything in its place, check the wires and make sure there are no loose ends that can cause accidents.
If this task makes you uncomfortable or you are not sure that your results are safe, it is better to call for an electrician, who can do the job faster and in safety conditions.
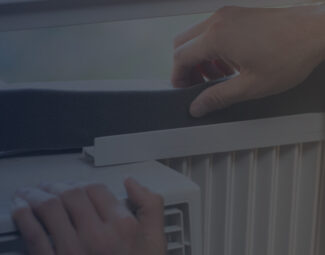
Step 6 – Finish the Installation
Attach the ceiling assembly and the shroud, then power on the AC. Take your time to check any function and run it both at low and high speed. Check if it is cooling properly. At this point, you can consider the installation complete and admire your work.
Maintenance Tips to Keep the RV AC in Good Shape
- Use the thermostat – It will help you extend the life of your unit and save some gas money. The thermostat’s job is to measure the temperature inside and adjust the AC’s running according to the measurements. Thus, if the desired temperature has been reached, the unit will turn off and turn on again when the temperature overcomes the desired value.
- Provide natural ventilation – If the weather allows you, open the vent once in a while to allow moisture to evaporate. High humidity can cause serious damage to an RV, as it favors rust and corrosion.
- Clean the unit at least twice a year – The condenser especially will need careful attention as it tends to collect dirt and dust. Leaves can block the coils as well, so make sure to remove them for the unit to work as it should. If the condenser doesn’t cool the air anymore, you may need to replace it.
- Keep the fan well-oiled – Pay attention to the fan and oil it so it can remain quiet and efficient.
- Cover the unit when not in use – A cheap cover is all you need to keep the dirt away in the winter and spare yourself some expansive repairs.
The Bottom Line
Now that you have learned how the installation process works, it’s time to get it done. Just remember to pick a day when the chances of rain are minimal, as you will need to perform this task outdoors. And don’t hesitate to call some friends to help you. Four hands are better than two but you may need some extra eyes as well when setting up the wires. Moreover, when everything is done, enjoy your work and make sure to pay proper attention to your new unit and keep it clean and greased.


